Sugar cookies are a staple for Christmas (for me anyway). But not so much the eating of them as the decorating. As kids we’d get a bunch of coloured icing, knives for spreading it and decorations like mini m&m’s, sprinkles and those shiny sugar balls. Now I’m all grown up and I finally have a decent sized kitchen to make these sugary treats. I used this recipe by Alton Brown to make the cookies, but I wanted to also share my tips on icing (well, mostly I just want to show off these cute things!).
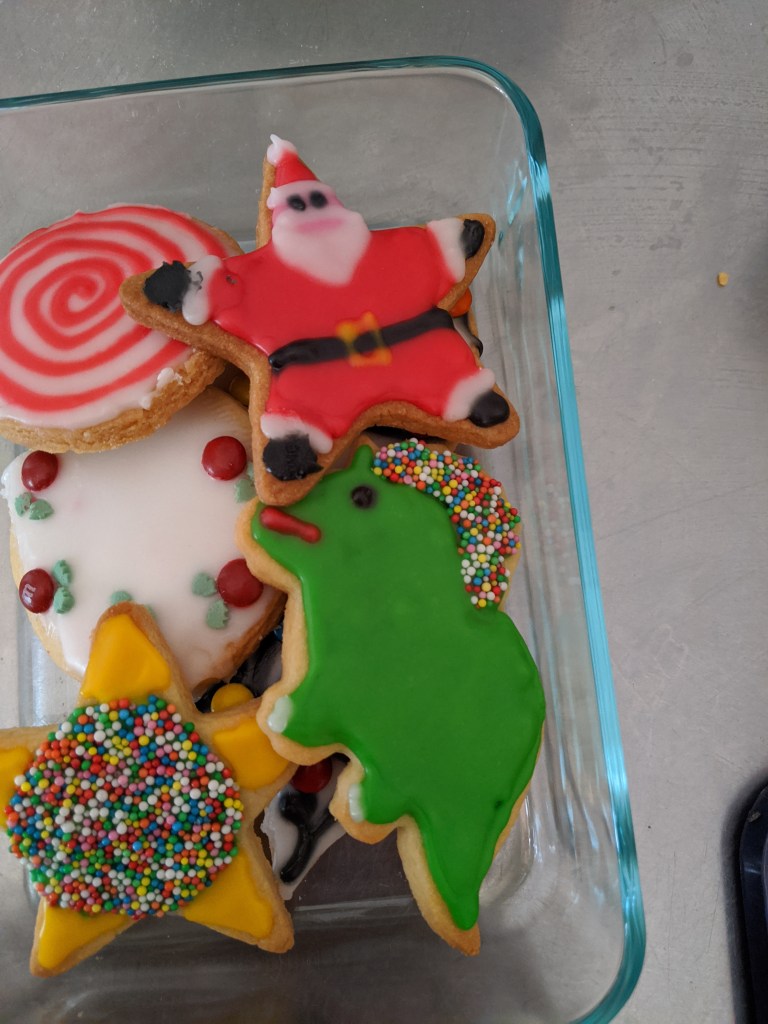
My dough was pretty dry and was cracking as I tried to roll it out, so my support network (thanks Mum!) said I needed more butter, and all was good. I made the recipe twice and it made over 72 cookies… it took 4 hours to ice them all with my amazing support network. Just because it was Christmas didn’t stop me from enjoying some of the super cute cookie cutters I recently acquired – dinos for the win!!
The main this to start with when icing is having a good consistency with your icing mix. You want it to be fairly thick so that it holds it’s shape, but when you want to flood (fill in) a large area of the cookie, it needs to be runny enough that it will end up nice and smooth. Now, theoretically you should have 2 different lots of icing, one for decorating and one for flooding. But stuff that, that’s way too much effort for me. You just have to find a happy medium. Of course, after a day the icing starts bleeding into each other, but maybe it does that anyway?
Once you’ve got your happy medium, you need to outline the area that you’re decorating. Whether that is the whole cookie, or a certain section like in my disco dino design. I outlined the afro bit first, flooded it then dipped it in sprinkles. That’s why it has such a neat edge. Then I iced the rest of the cookie. That’s also how you do the Santa. Outline the red section and flood, then pink, white and finally black. That design is from here.
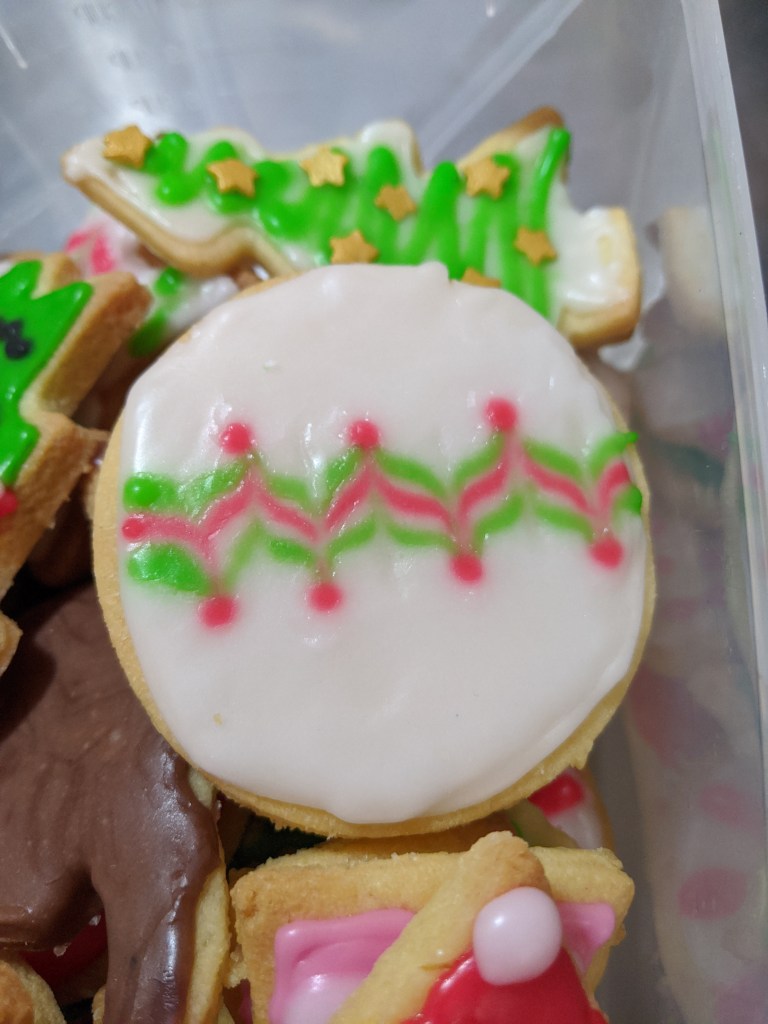
One of my favourite effects when icing is one that I learnt when making vanilla slices. All you do is draw straight lines over and iced surface and then run a skewer perpendicular to them. It creates a pretty wavy/zig-zaggy pattern like on this bauble cookie. I finished off the “points” with a small dot of red. This technique requires icing that is fairly runny, otherwise it will just crack and not flow to create the wave. You can also use this technique to make love hearts. Instead of a line, put a spot of icing on the cookie and run a skewer through it.
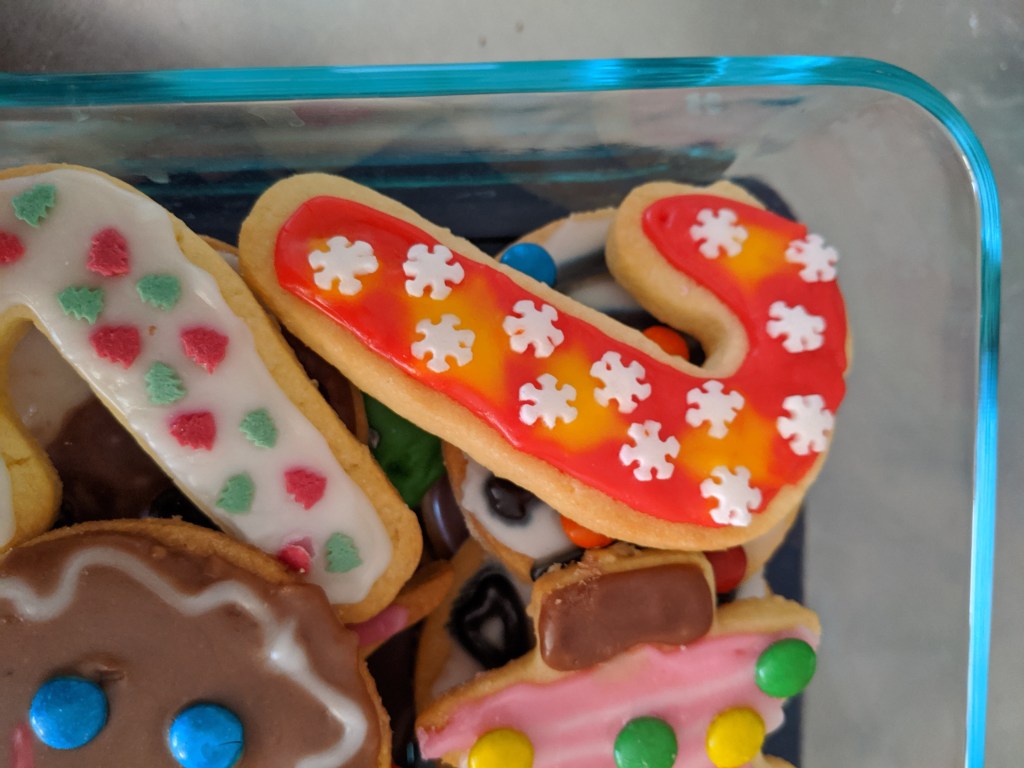
We also used various sprinkle shapes, which worked great at embellishing the cookies like the tree above. It also helped hide mistakes, like this candy cane.
Something I tried out was using icing as an embellishment in itself. By letting the background icing dry, I was able to pipe designs on top of that, and it stayed raised. I’ll have to keep testing this one out, initial attempts are a bit wonky for my liking 😉

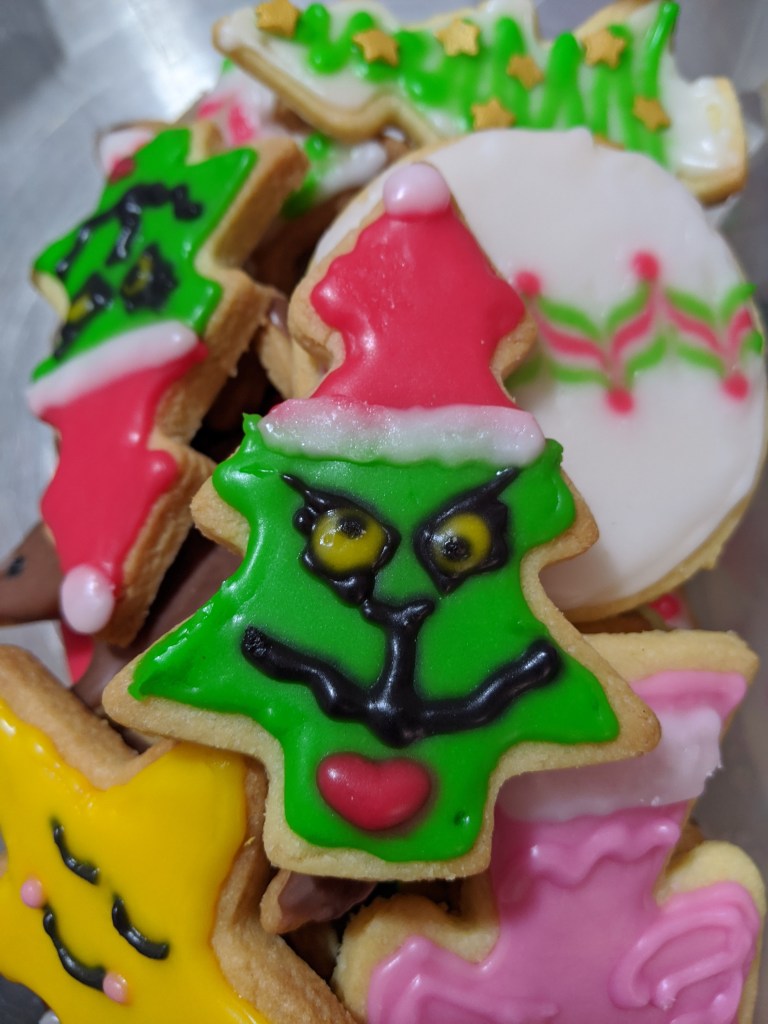
Finally I just want to show off this super cute Grinch that I did. The design was from here.
Bake on,
Beth 🙂
