Un-Whipped Condensed Milk Icecrean

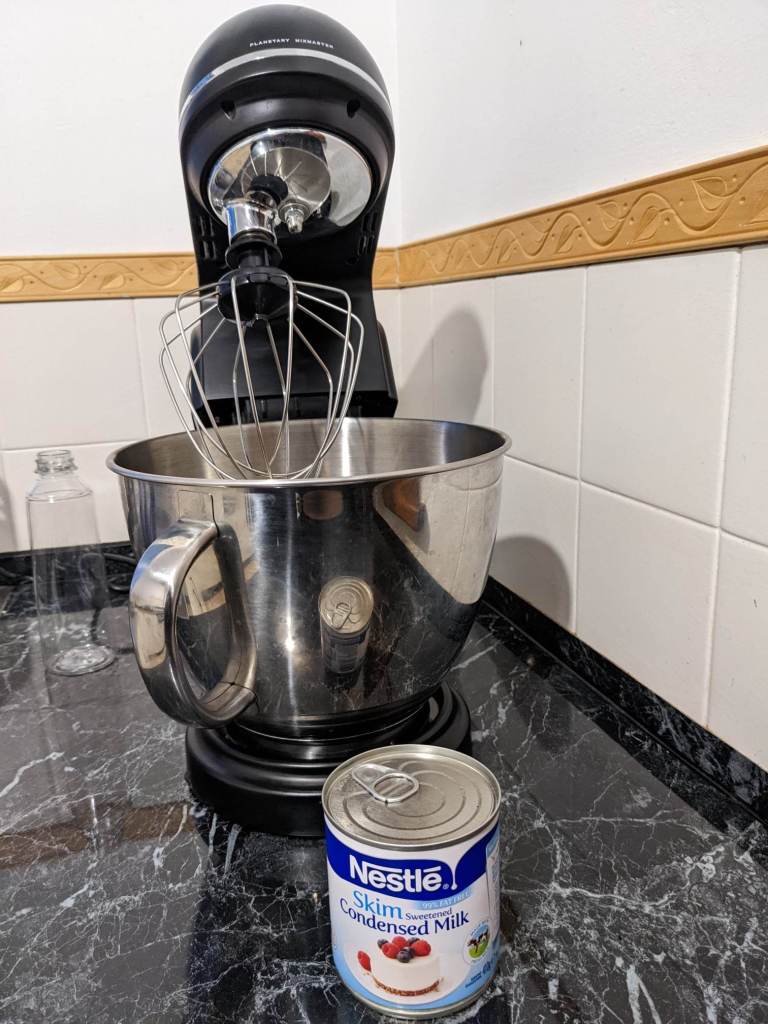
I got a stand mixer babyyyy!!! I was so excited. I did research, borrowed my neighbour’s KitchenAid and spoke with my Mum about hers. This is a decision that has been years in the making, and I finally did it! I ended up with a Sunbeam Master One and I am so happy! Yes it can be loud on the highest setting, but oh well. I don’t use that setting too often.

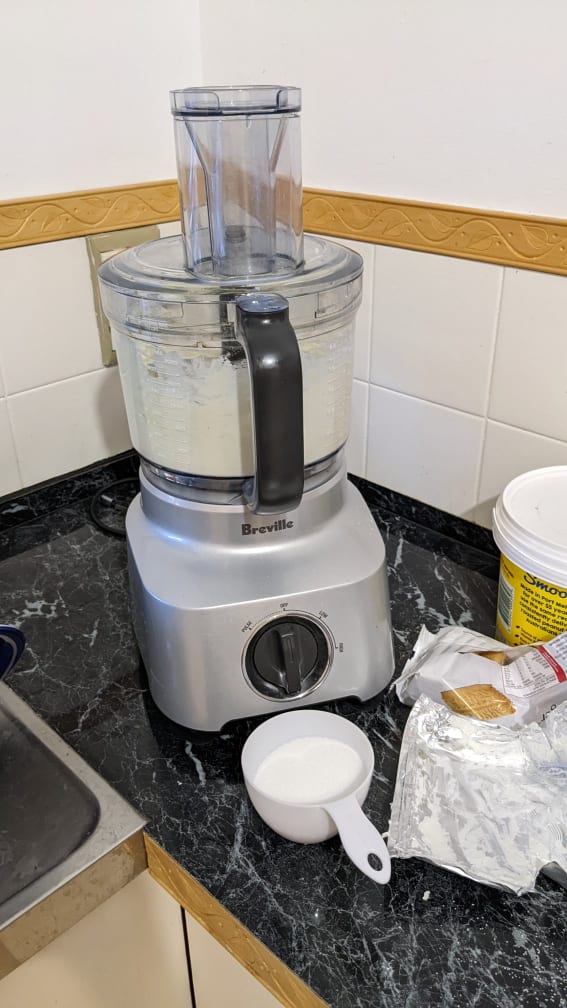
Anyway, this post is about icecream (here is the recipe). I wanted to use condensed milk to create a 2 ingredient icecream where I would whip the condensed milk and then add chopped frozen strawberries. So I got all excited and looked into it and found noone had seemed to try it before and document it! Bingo! My market. The only advice I could really find was to refrigerate the condensed milk first, so I did that. Got out my stand mixer, put on the whisk attachment and pressed go.

One shiny new stand mixer!

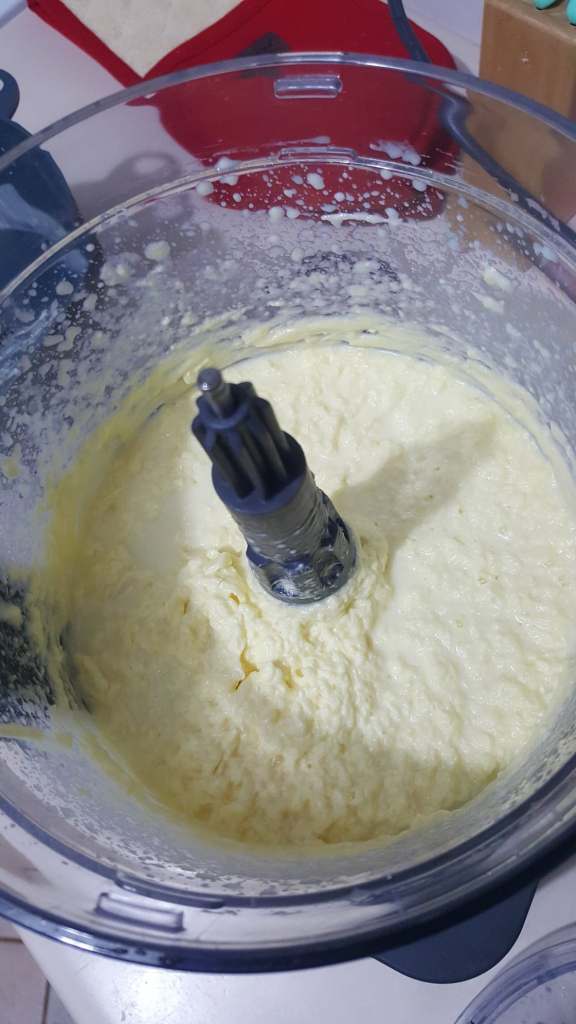
I watched as it spun and spun and…nothing really happened.

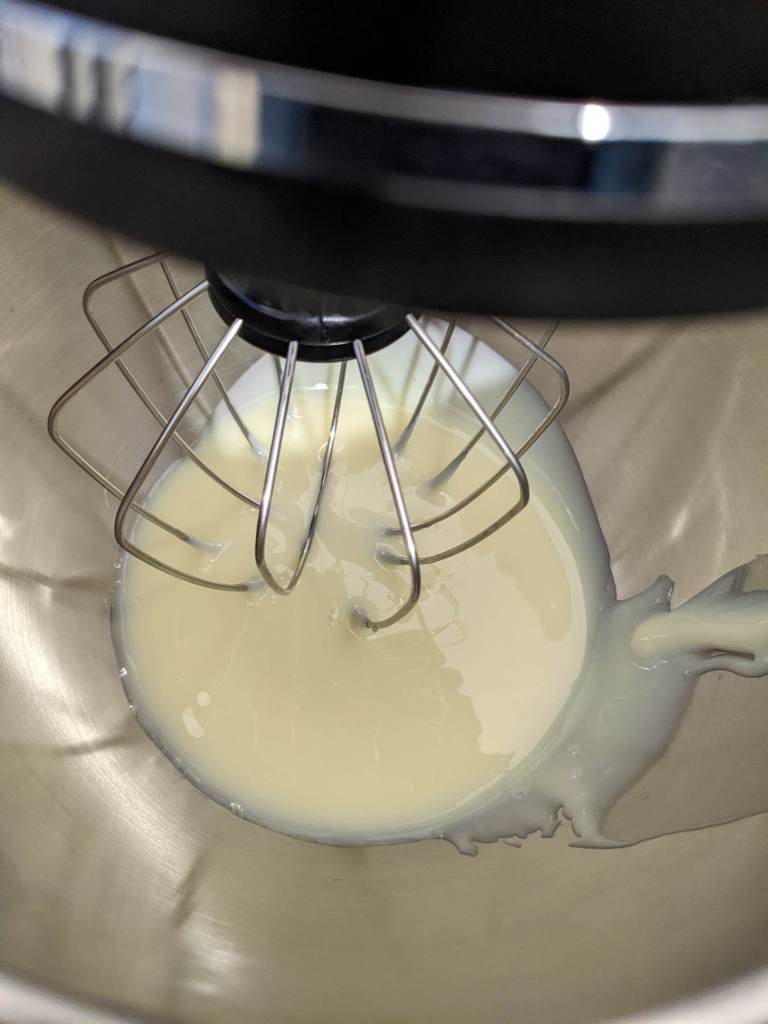
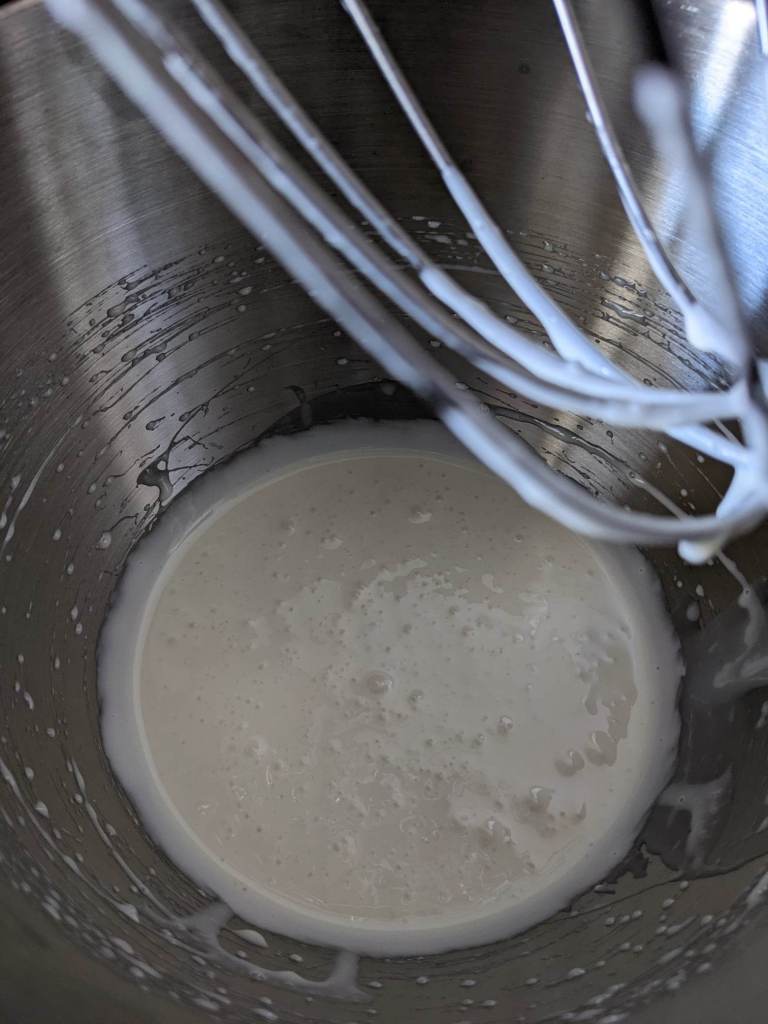
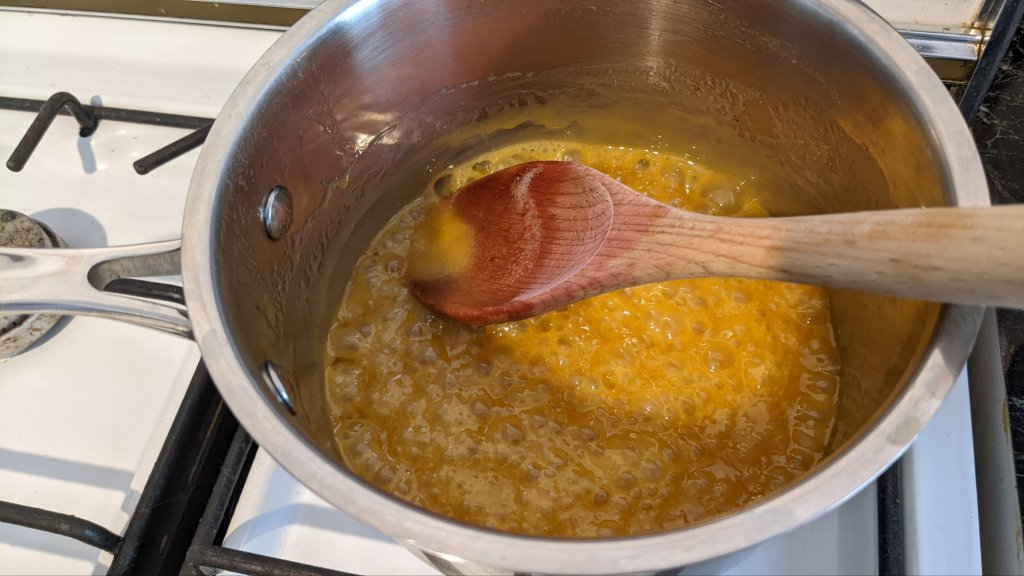
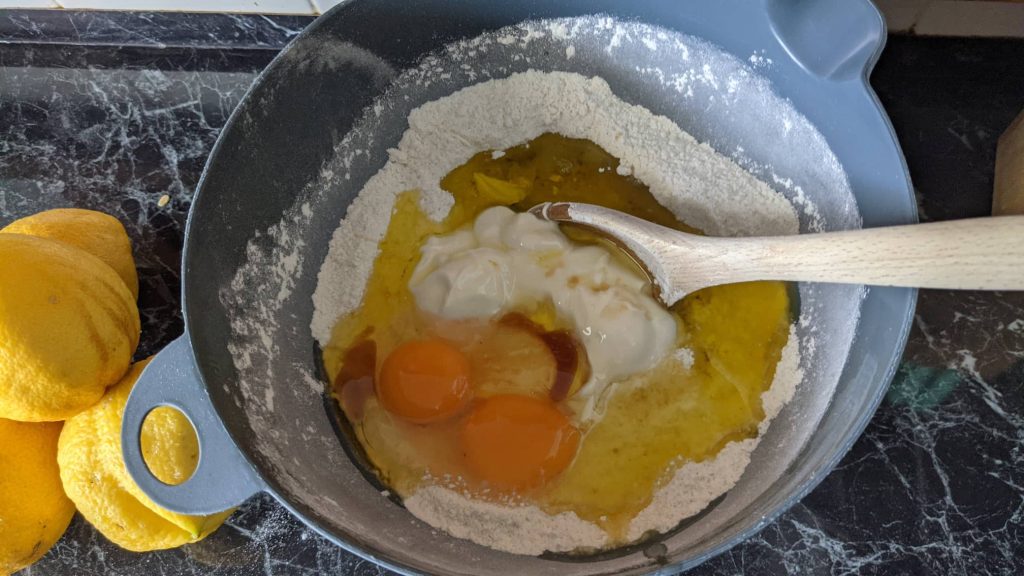
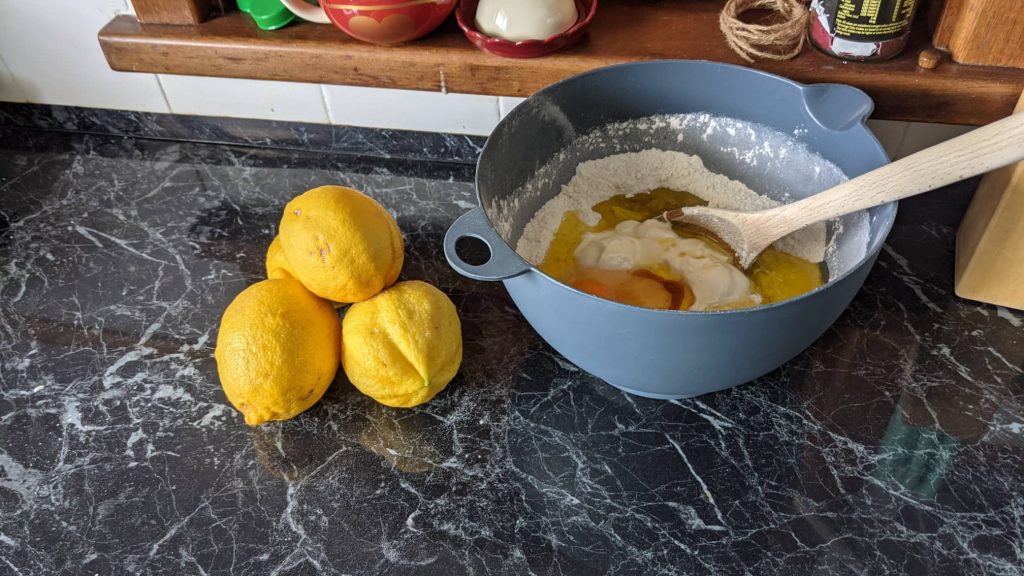
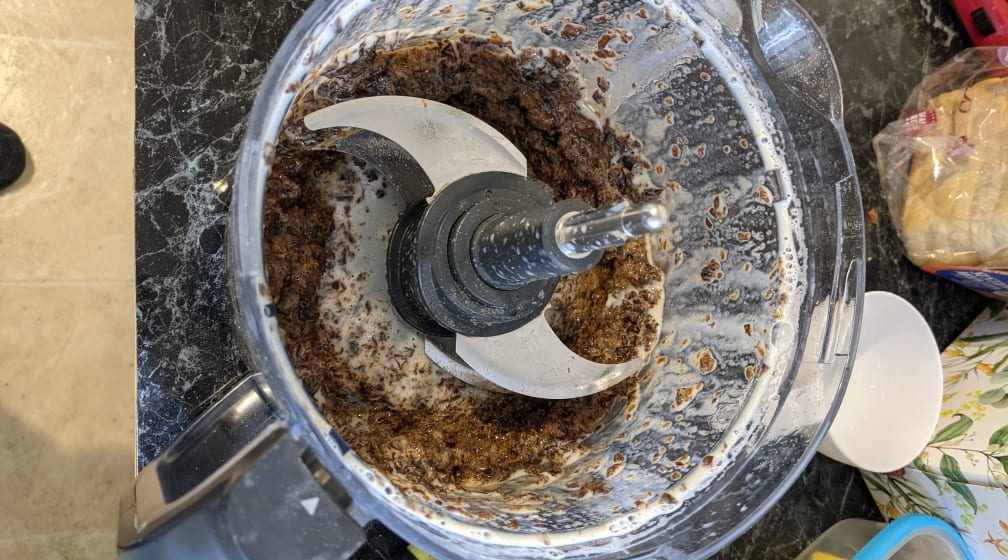
These are my before/after images. Appologies for the strange lighting, but you can still tell that the milk has lightened slightly and has bubbles in it. I think it looks like pancake mix!

What I was hoping for was a light fluffy texture, and what I got was, well, condensed milk.

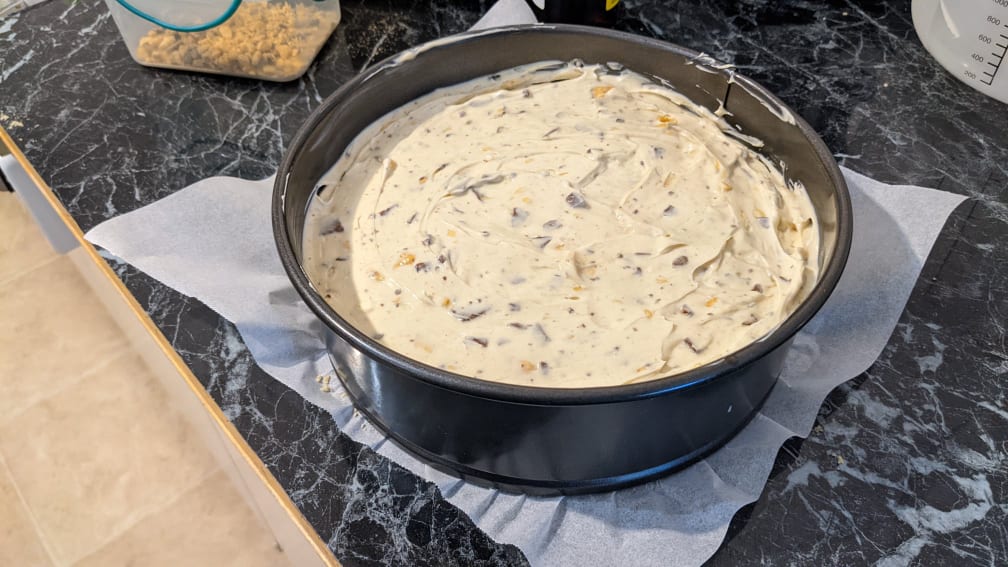
Not to waste good igredients (I also just wanted icecream!), I went to the shops and grabbed some whipping cream. Whipped it up real good and folded the condensed milk into the cream. Just add the thawed strawberries and viola! It was ready to set (stuff churning it, I just threw it in the freezer).

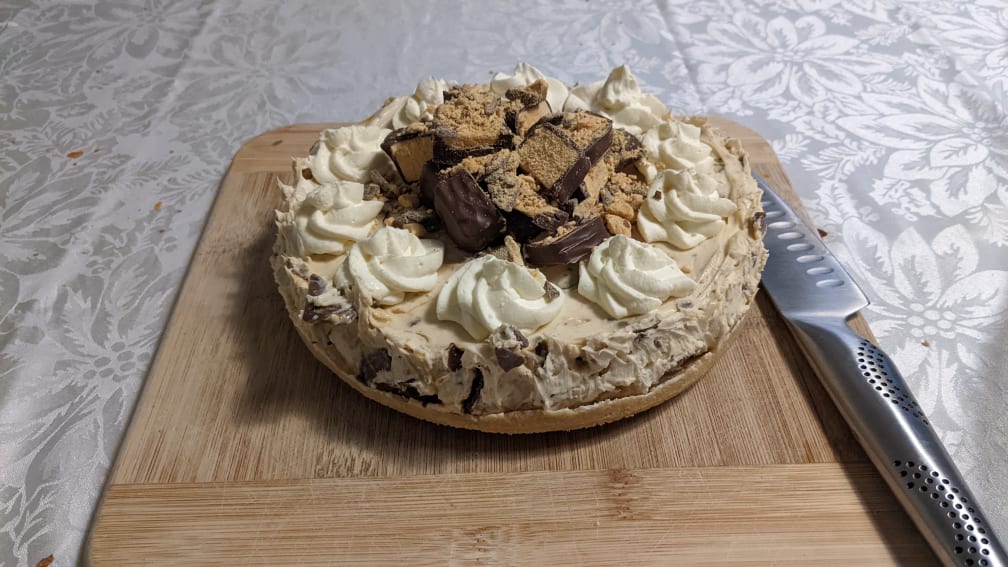
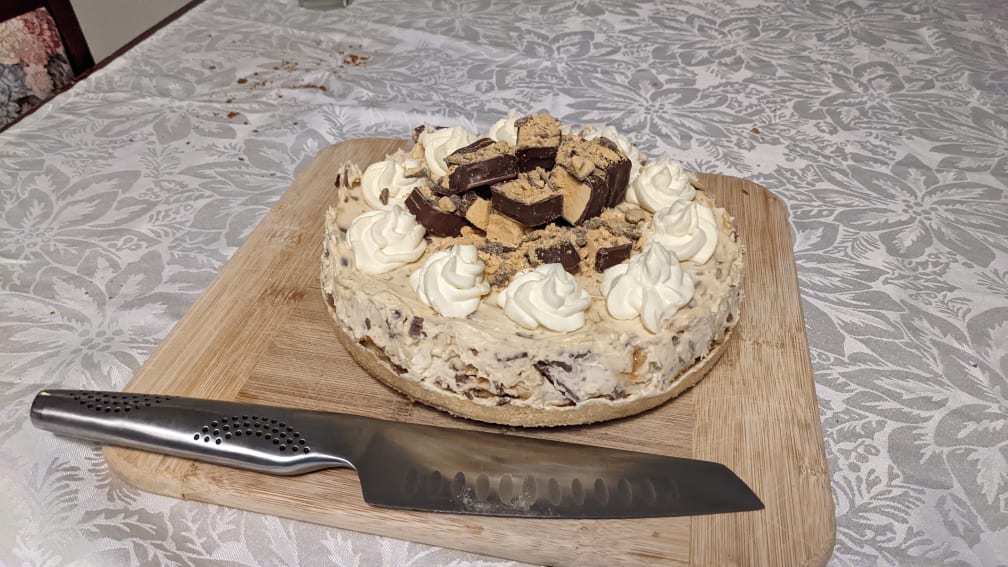
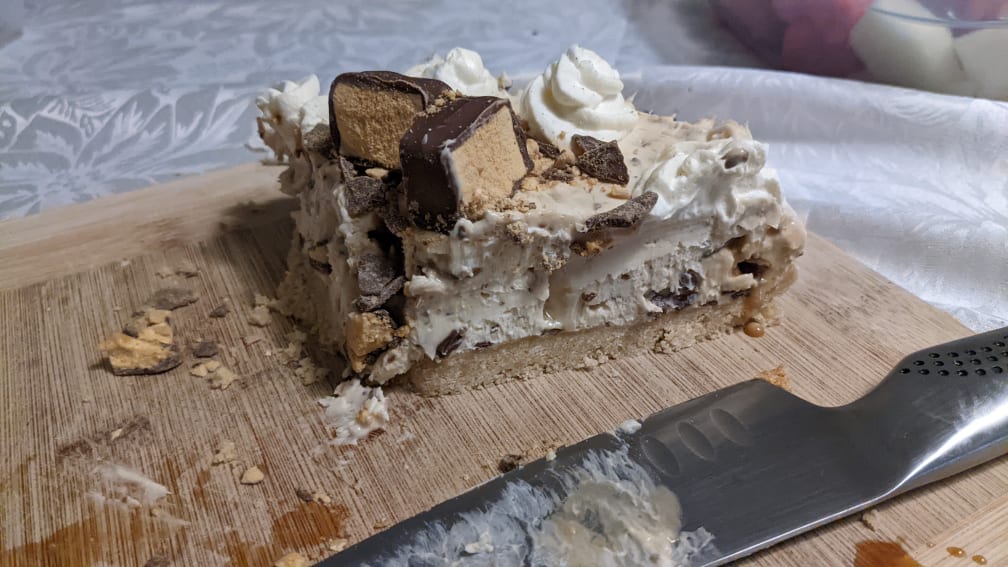
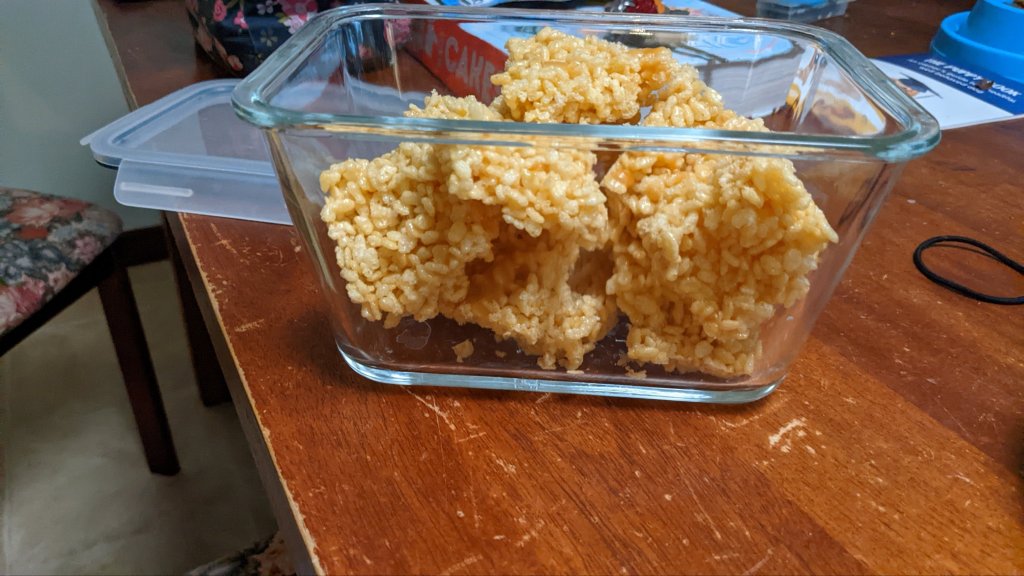
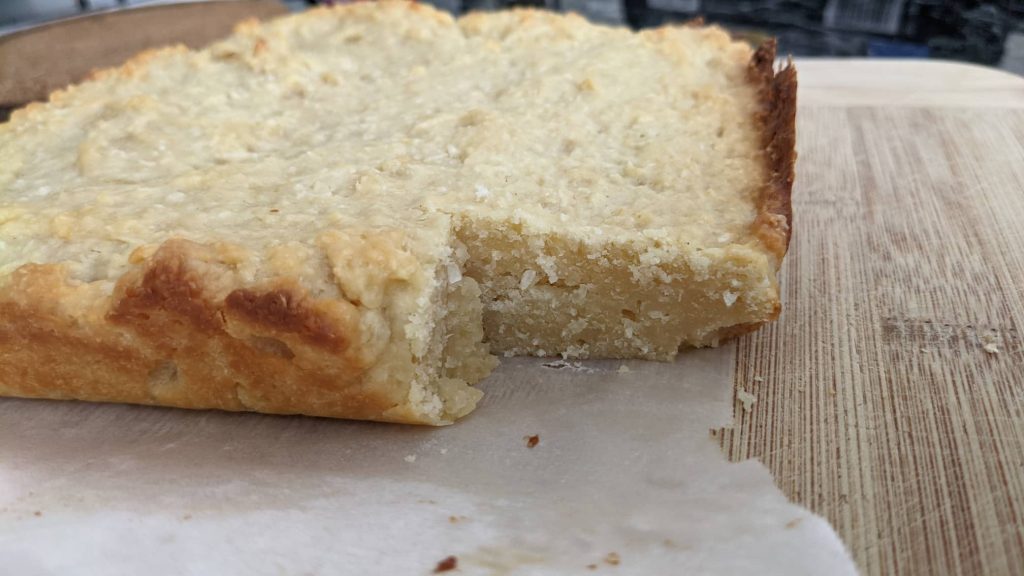
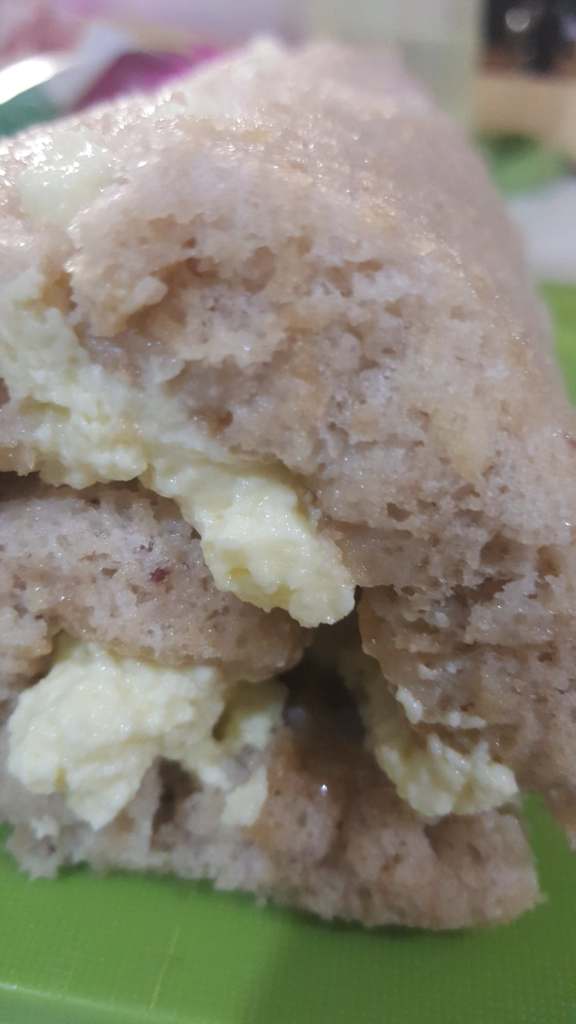
After a couple of hours I had to try it. This is the first scoop.

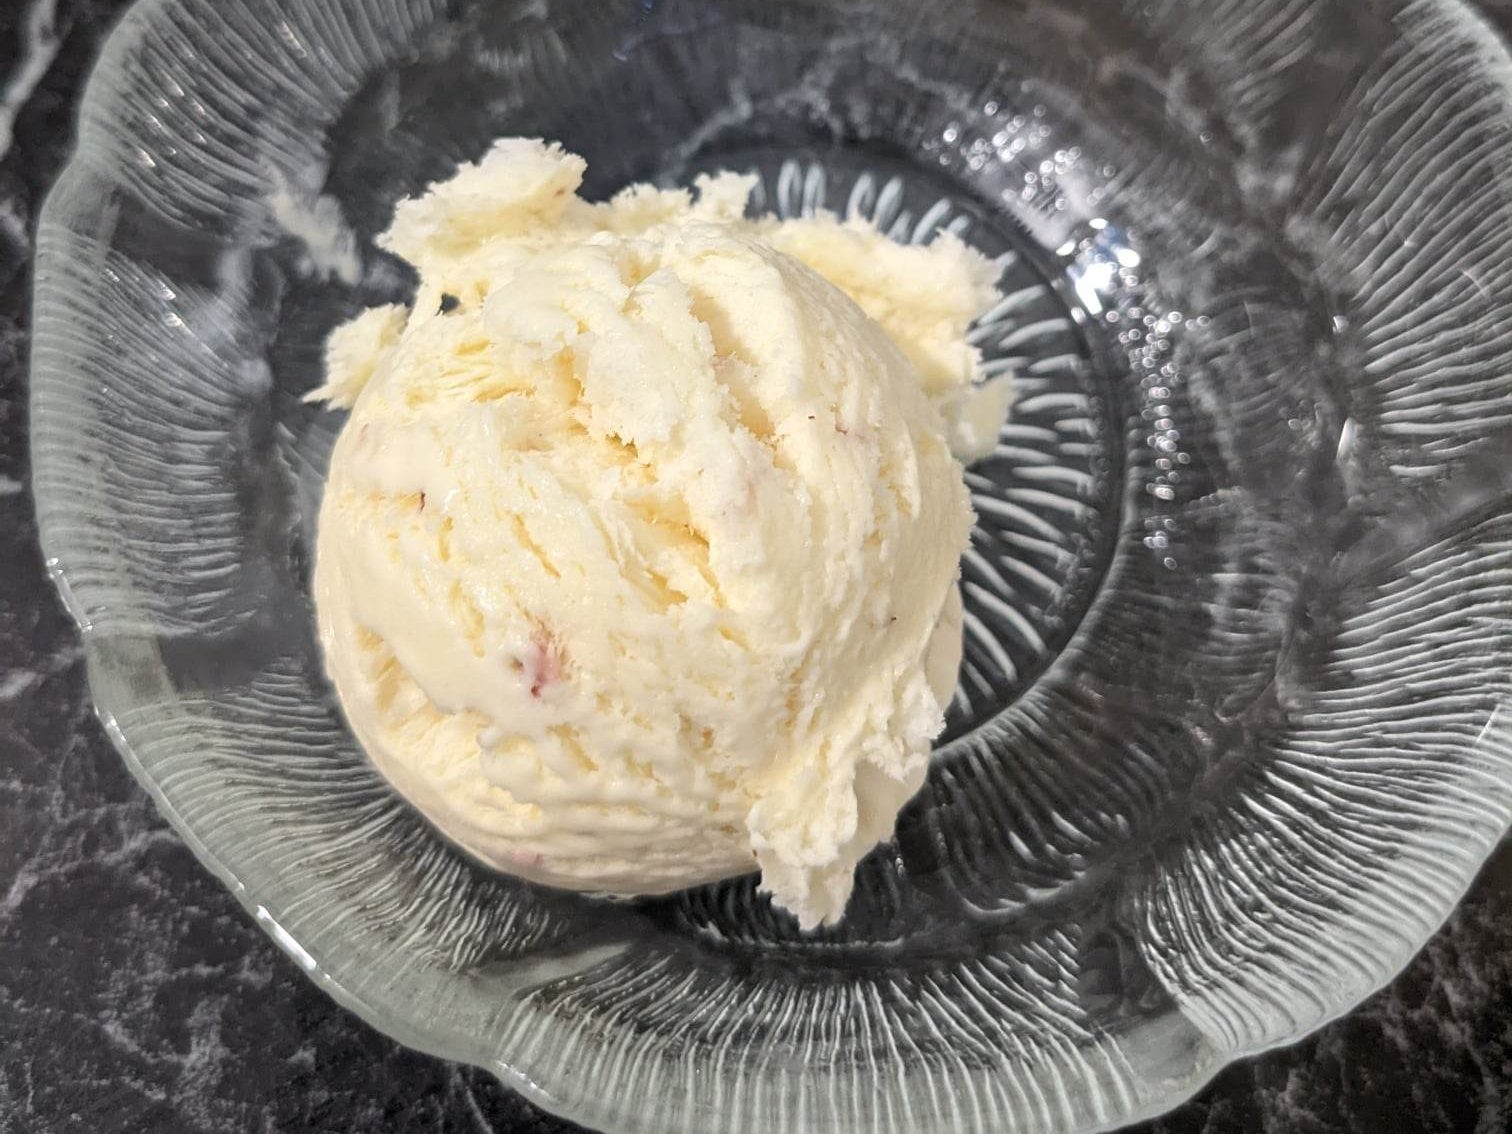
How good does that look! It came out super rich thanks to the condensed milk, but still creamy and yum.

Next time, I think I’ll stick to cream and sugar 🙂

Happy Baking!

Honey, I’ve Shrunk the Sugar in the Cheesecake

It’s that time of year again where I make way too much cake. This year I decided I didn’t want to bake, so I made a no-bake cheesecake. It’s honeycomb flavour.

I adapted the recipe from TRTLMT’s recipe for Choc Honeycomb Cheesecake. Here is my recipe. Took me a minute to work out that it was a Thermomix recipe, but I decided to try and adapt it to a blender recipe. This worked quite well for the biscuit base, but not so well for the cream cheese filling. I liked using the blender for the biscuits because it allowed me to use cold butter rather than melted butter. One less step! It didn’t make much difference to pressing it into the base either.

I also wanted to use my blender to crush up the voilet crumble, which is the flavouring for the cake. I was a little worried it would come out too fine, but I this it is perfect. Plently of small bits to make an even flavour but some lovely large chunks for that extra oomph.

The cream cheesefilling definitely works better with a hand mixer, as it doesn’t smoosh all the ingredients up to the edges, but makes sure to incorporate it throughout the mixture. I also didn’t need the high power blender as, for once, I actually had room temperature cream cheese! Normally I’m never organised enough, but I remembered first thing this morning to get it out. I feel like I deserve a pat on the head for being a good little baker.

I know techincally this is a food processor, but that takes soooo long to type out!

I also decided that I would slowly add the sugar to make sure it wasn’t too sweet. I ended up using probably 80-90g out of the 100g in the recipe, but that was with an extra 250g block of cream cheese. I figured thaat the honeycomb will add quite a bit of sweetness, and it’s easier to add more sugar than take it out! Unfortunately this meant I had to taste-test as I went. What a shame! Once the batter was all mixed and decently sweet I mixed in the honeycomb and tested it again. I was pretty happy with it! Not too sweet, but enough to offset the tartness of cream cheese.

It ended up being a huge hit and both my Aunts even had seconds :O I also have the leftovers for my birthday breakfast…

Honey Crackle

This was a party treat from way back when, that I never really liked. I didn’t get stuck into it like chocolate or chips. That isn’t stopping me from making it though. Here’s the recipe.

Honey Crackle is basically rice bubbles, butter and honey. I had leftover bubbles from making mars bar slice (forgot to take photos, so no post on that one yet!) and I was getting bored of having them sitting in my kitchen.

It’s super easy, just melt the butter, honey and a splash of vanilla essence, make it simmer and mix it with the bubbles. Set in the fridge and done! I will admit while making this I got some vanilla essence on my fingers and I have a strong memory link of that smell and making choc chip cookies regularly as a kid. I may have sniffed my fingers…

Bubble bubble toil and … honey

When Life Gives You Lemons… Make Bread!

My partner and I have recently bought our very first home. We love it, especially the giant backyard! Our lemon tree is prolific, but I generally don’t like lemon flavour. It makes avoiding waste somewhat tricky! I happened to also have some frozen strawberries in my freezer from last season which needed to get used. I came across this recipe for Strawberry Lemon Bread by TastyOven, which was a huge hit at a family gathering. I like it because it has less sugar than many other recipes AND it uses olive oil instead of butter (one less thing for me to change!). I have made it a few times since then with varying results. This is today’s rendition (the recipe is here):

I didn’t have strawberries, so this is just Lemon Bread. It’s such a simple recipe: combine dry ingredients, add wet ingredients, stir and bake. I still managed to muck it up. I forgot to add baking powder and turn my plain flour into self-raising flour. Doh! That is why the finished product is so flat. I also had to substitute the milk for yoghurt, as my milk had turned sour yesterday. I decided to add a half cup of dessicated coconut too, just for fun 😉

The batter is happy to see me!
Yes I legitimately stacked those lemons there before deciding to write this as a post.

The cake turned out very dense and flat (thanks to the lack of rising agent), but very flavourful. Almost too flavourful for me! For the full recipe click here.

Banana and Prune Loaf

Psych! I’m still here! I’ve been busy moving house and changing jobs, but I’ve still been baking! (Except that month where we bought take out almost every night and ate it in bed because we hadn’t set up the lounge room…)

Recently, I got some old bananas off my Buy Nothing page and I have discovered the joys of non-refined sweetners! At work the cook makes this date loaf that is SO SWEET but has no sugar! Totally blew my mind. So I thought I’d give it a go. I used this recipe from Yummy Addiction as a base, but guess what! I changed it. I’m good at this following the instructions thing. I’ve had prunes in my cupboard for over a year (back when I was gonna try more high fibre foods. Yeah that never happened…), so I substituted the dates for prunes. Waste not, want not!

I can’t comment on the difference because I have never made this recipe before (or cooked with dates/prunes). The loaf definitely had a different taste to ‘normal’ banana bread, less banana, more prune. Still pretty darn yum though, considering there’s no refined sugar 😀

So mix the dry ingredients. Ok flour… uh oh. I used all but a cup of flour for a different recipe not an hour ago. Bahh. Never fear! I always have oats, so I chucked them in my blender to try and make flour (this is how the pros do it right? XD ) It wasn’t terrible, but there were definitely large chunks of oats in the finished product. Ok, salt, powder, oh cinnamon? Easy. Oh I don’t have any, well, I’ll use a little extra nutmeg. Oh look, there’s the cinnamon. time to try and spoon out some nutmeg and replace it with cinnamon. *face palm*.

Right, so blend the dates and butter milk (ie. milk with a dash of vinegar, coz I don’t have space for another carton in my fridge!), till smooth… or not crazy chunky. My blender didn’t quick get it to the stage where I would call it ‘smooth’ but it turned out fine.

mmm chunky

I added the other ‘wet’ ingredients to the blender (probably could’ve done it all at the same time) but replaced the butter with olive oil, fresh from the farm 2 weeks ago. I’ve never had an egg refuse to crack, but this one almost got the better of me.

Add it all together, but don’t overmix! Time to cook! No need to preheat the oven, what with my fancy (and very old, but new to me) gas oven. I’m not scared of it at all, what are you on about?

It looked and smelt gross going into the oven and coming out. But it actually tasted quite good. I honestly didn’t expect to enjoy it, but this morning I toasted some and put some butter on it an oh my goodness it was good. It’s stayed out on my bench for the past week and is still ok, still moist and ok to eat fresh.

Growing Ogres

Ogres are… like onions. Because they stink? No. Oh, they make you cry? No! Onions have layers! Ogres have layers. Onions have layers. You get it? We both have layers. Hmmm. You know, not everyone likes onions… What about cakes? Cakes have layers and everybody loooooves cakes!

Ok, so I’m not growing ogres. I’m growing spring onions. But… Who doesn’t love some good old Shrek and Donkey?

I love gardening. I love the idea of having all the fruit and veg I need right outside my door. So, now that I have a bigger place I decided to start a vege patch. I’ll have beans and tomatoes, corn and broccoli, carrots and potatoes…and spring onions! I’m always using onions, and to me, spring onions are quite often easily substituted. The benefit to growing spring onion as opposed to brown onions and the like is that they’ll regrow after I cut their heads off… I mean trim the tops. That way I won’t have to resow/harvest/dry and all the other finicky things needed for keeping onions. The plan is to have a constant supply of spring onions available.

Now we all need to start somewhere. Instead of using seeds, I decided to utilise the ends of my store-bought spring onions, which were destined for landfill. It was really easy. All you do is get spring onions with the white bulb and roots still attached. Chop that off about 2cm from the roots and use the green bits as your heart desires. Get a cup, glass or jar. Grab 2 or 3 toothpicks and insert them into the onion base at an angle. Don’t poke them all the way through, just enough that they are holding the onion. You want to have the toothpicks angled so that the roots will sit below the lip of the cup. Get the roots and make sure all of them go into the cup. Fill the cup so that the roots are fully submerged, but the bulb is not. At this stage, the onion is pretty forgiving. After a day you’ll see your flat topped onion start to bulge. Wait a few more days and there will be green leaves. You may need to change the water and top it up over this time. You may even notice the toothpicks changing angles as the onion grows (re-position it as needed). Congrats, you’ve just saved your spring onion from landfill!

At some point you’ll want to plant this into soil. This is where I killed my plants. Well, not at the transplanting stage, but at the over-loved stage. See, I think I buried the onions too deep. Instead of just covering the roots, I also put about 1cm of the bulb under the soil too. This caused my plants to rot and die 😥 But I soldier on and now have some new babies…onions… ready for transplanting! Wish me luck!

Bake on (?),

Beth 🙂

Sweet! Or hot…?

I made a pretty sweet cake for my birthday yesterday. You could say I was on fire 😛 I got my inspiration for this cake from the Women’s Weekly Best Ever Kid’s Cake book and used their dark chocolate mud cake recipe in the same book. It turned out to be a super dense, rich and delicious cake, but maybe I’ll have some cream on hand next time! I actually made the cakes themselves a few days in advance and froze them, which didn’t seem to affect the texture or taste at all. I also used spelt flour instead of regular wheat flour so I could eat as much as I wanted! Which wasn’t too much it turned out.

Campfire cake

I followed the recipe in the book (written here for your convenience) and poured the batter into 2 same sized round containers. The instructions were very vague on how to bake the cake, so I guess 180 degrees for about 20 mins. They turned out pretty good, but next time I might reduce the cooking time a bit to try and get an extra gooey (but still cooked) center. I also think that the cake may not need the extra cocoa as there are 2 blocks of chocolate in that cake! I’ll have to experiment. I cooled the cakes then popped them into a container in my freezer to keep.

I removed the cakes at the start of the day to give them plenty of time to defrost before the party. After going to work and while cooking all the other food for the party, I made the toffee (actually Mum made it and did a great job but don’t tell anyone). I followed the recipe in the Women’s Weekly Cooking Class Cookbook, but used apple cider vinegar instead of brown vinegar. This was definitely because I wanted to test it and not because I did not have the brown vinegar. Yup. It actually made toffee with a slight apple taste which was really nice! To get the colour of the flame we added 2 drops of yellow and 1 drop of red food colouring to the mix before it boiled. We needed the toffee to be the hard sort so it ended up boiling for about 20 mins. We spread it onto baking paper, allowed it to cool then broke it up to look a bit like flames.

Top of the campfire cake

Then came the icing and assembly. We made a basic buttercream and cocoa icing to go between the layers of cake and on top of the whole cake. I sifted some cocoa powder over the top of the cake to make it less shiny and look more like dirt (yum!). I used TV malt stick snacks to go around the outside (which made portioning the cake a dream!) and 1 milk and 1 dark flake to create the logs around the fire. Then shove the toffee pieces in artistically and some candles and voila! A yummy campfire cake 🙂 I used sparkler candles because… well… why not?

Bake on,

Beth

Guts of the cake. Note the two layers and density of the cake.

Strawberry and White Chocolate Swiss Roll

I was inspired by the Great British Bake Off to make a swiss roll. As a child, I loved the overly sweet chocolate “snail cake” my Mum would sometimes get. We never made them at home they were “too hard” to make. Spoiler: They’re not that hard. Sure, my first attempt could have looked much better (rather than looking like a hunk of my thigh), but it tasted good. I wanted a pink sponge using fresh strawberries (I had 2kg of jamming strawberries to use) with white chocolate filling, and do you think I could find a recipe?! So this on is cobbled together from a few different places: the basic recipe from Taste.com, the idea and ratio of strawberry sauce from Sugar Geek Show and the recipe for the cream from Carve Your Craving. Here is the recipe I ended up with.

Strawberry and white chocolate… I promise.

Using the strawberries that I had was important. I love using fresh ingredients rather than pre-processed stuff–if I had the time and ability I would probably make my own flour! That’s never going to happen, but I can do strawberry flavouring myself. I had actually make strawberry topping from Sally’s Baking Addiction, and after finding the recipe from Sugar Geek, I decided that using directly fresh strawberries wouldn’t be a great idea. Instead, I spooned out 5 tablespoons (as in, spoons, not the measurement) of the sauce and sieved it to remove chunks and seeds. I was concerned that it would make my roll too wet, but the batter was fine and the cake tasted great.

Goop left over from straining out the strawberry sauce

I followed the steps for creating the sponge to the letter (and added in my sauce), and I was surprised at the thickness/depth of the sponge. But after baking, that’s where I panicked a little. I didn’t read the recipe properly and used my own knowledge of how to roll these things. So I rolled it straight away, because that is meant to make it easier. However where a recipe says “roll along the long side” it doesn’t mean tuck under the long side and have the swirl on the short side…Oops. I didn’t have the lovely swirl. So I unrolled it. It was sticky and ended up splitting a bit, but I managed to unroll it with minimal damage. I then rolled it the correct way…but still without the sugar. For those who are oblivious like I was, the sugar helps to dry out the outside of the roll and stops it being so sticky. So I finally got my sponge rolled, and I set it aside to cool.

Time for the filling. It was a very simple mix of white chocolate and cream. Everything was going swimmingly except my hand mixer was taking aagesssss to whip my cream/chocolate. So I put it in my food processor (which had a whisk attachment) and let it go. Guess what I ended up with! Butter! Yum! Just what you want in a sweet swiss roll. Or not. It was pretty gross honestly. So that went in the bin and I went to bed, thinking about how I would do it better for dinner the next day.

Whipped…Butter? White chocolate makes cream very temperamental and difficult to whip.

The solution was obvious: Do it AT dinner! I figured using the stick blender I have always used should help me make thick cream, not butter. It did not. Even though I did the first step of melting the chocolate and cream together about 8 hours before I whipped it (giving it plenty of time to cool), I still almost made butter when I whipped it. It was decent enough to put on the sponge, so I slathered it on, rolled up the sponge and voila! One white choc and strawberry swiss roll. It tasted pretty good. Not amazing, but there was only 1 slice left, which I am pretty happy with. I think next time I’ll use a bit more chocolate in the cream. The sponge was very sweet, so I’ll need to think of another way to make that work.

Orange and Almond Cake

I’m back! But just because all is quiet on the blog front doesn’t mean I haven’t been cooking! I have tried a few different things out, but I have always wanted to make Orange and Almond cake. I first had this cake 8 years ago, when I worked in a small bakery. I had recently found out that I am intolerant to wheat, so I was super excited to find a delicious, moist, gluten free cake. Well, I finally made it myself and it turned out pretty well. I used this site as a basis for my recipe. Continue reading to see the baking journey (not too many photos, sorry!) or just skip straight to the recipe!

Orange and Almond cake close-up

Orange and Almond cake has no wheat flour and uses the whole orange. Before trying this recipe I had no idea how expensive almond meal is! Sorry Mum! But it is definitely worth it for this cake as almond meal lends a nutty taste to the tart citrus of the oranges. The oranges I used were juicing oranges–they were super sour! (Despite my future father-in-law insisting that they are sweet). I am very lucky to have access to organic oranges, picked straight from the tree. But really any orange will do (though preferably unblemished).

You start by boiling the life out of the oranges. Remove the green stem bit and wash to your satisfaction. I used a pressure cooker and it took 20 minutes once it reached full pressure. Recipes otherwise suggest about 2 hours on the stove top. When cooked, the oranges should become soft and squishy. I didn’t want to wait for them to cool, so I used tongs to remove them from the pot and hold them as I cut the oranges into quarters. Remove any seeds, then you blend the life out of them! Yup, the peel, pith and flesh all get blended together. Smoother is better, but you may still see small “chunks” of peel (5mm by 5mm and very thin). Don’t worry, these kinda disappear once baked.

Beat the heck out of the eggs–they turn lighter in colour and will thicken but nowhere near as much as if they were just egg whites. Mix everything together (I used 2/3 cup of sugar and 1/3 cup of icing sugar…I kinda ran out…oops), pop it into a lined pan and cook. It doesn’t rise, so I could have made both these cakes into one. It ended up being kinda sour, but seemed to sweeten after a few days. It’s been over a week and my cake is still in the fridge and lookin’ fine, so there’s no need to rush eating it!

Bake on,

Beth x

2 cakes which could have been one…

Banana Cupcakes with the Essential Chocolate

I often cook something for family dinners, but sometimes they don’t go as planned. My cinnamon scrolls became a bit burnt on the base, so I nearly made something completely different. However I ran out of time and ingredients, so my family had slightly burnt scrolls. I ended up finishing off the banana cake I started though.

I planned to make a banana cake and use the cream cheese frosting from the cinnamon scrolls. I creamed butter, sugar and egg together and I started mashing bananas. They weren’t ripe enough 😥. So I put the mix aside to be used later.

When my bananas were ready, I wasn’t. It was late at night and I didn’t have the hour needed to cook a full cake. So instead of putting it off again, I made cupcakes instead! Being smaller, they took about 15 minutes to cook.

I also had some left over chocolate. Normally chocolate wouldn’t last long around me, but I’m trying to improve my eating habits. So the chocolate was chopped up and plonked on top of the cupcake/muffins. Best. Decision. Ever. The chocolate went beautifully with the banana but didn’t overpower it.

After setting a couple aside for personal eating, I took the rest into work to be devoured by my fellow scientists. I was told I could bring them in anytime!

Bake on,

Beth