I have no idea of the quantities I used. Maybe 2 cups icing mix, 125g butter and a handful of strawberries? A dash of milk to improve consistency.
Method
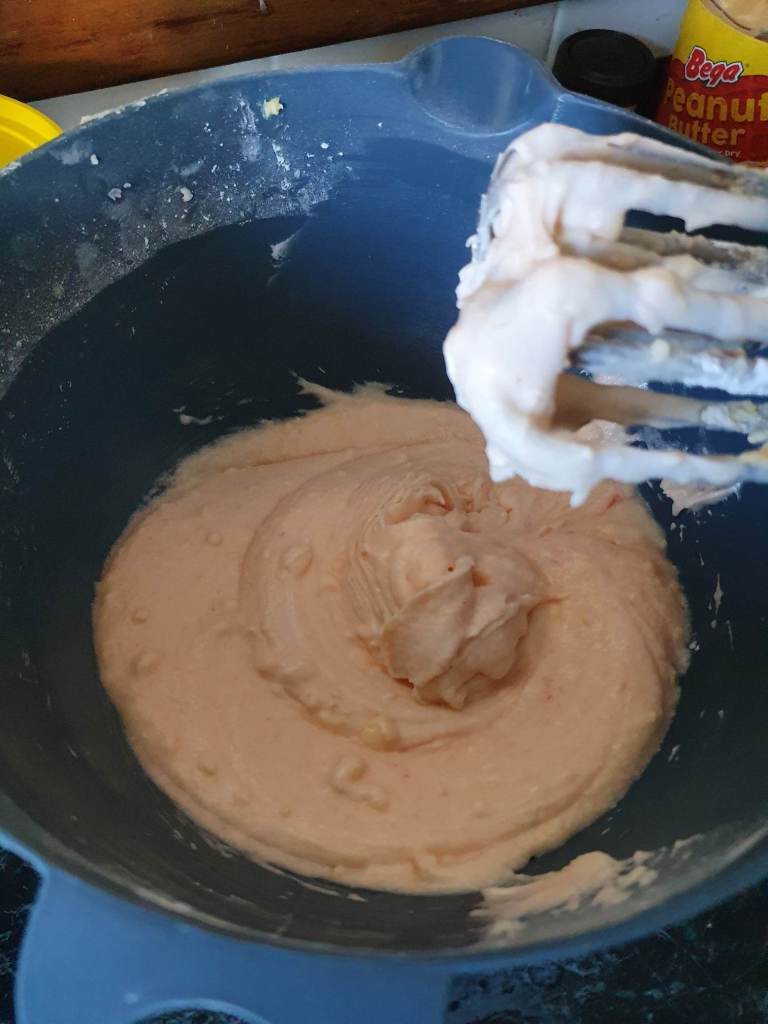
Mix icing mix and butter together (turns out you should actually cream the butter first. This causes a lighter colour and texture)
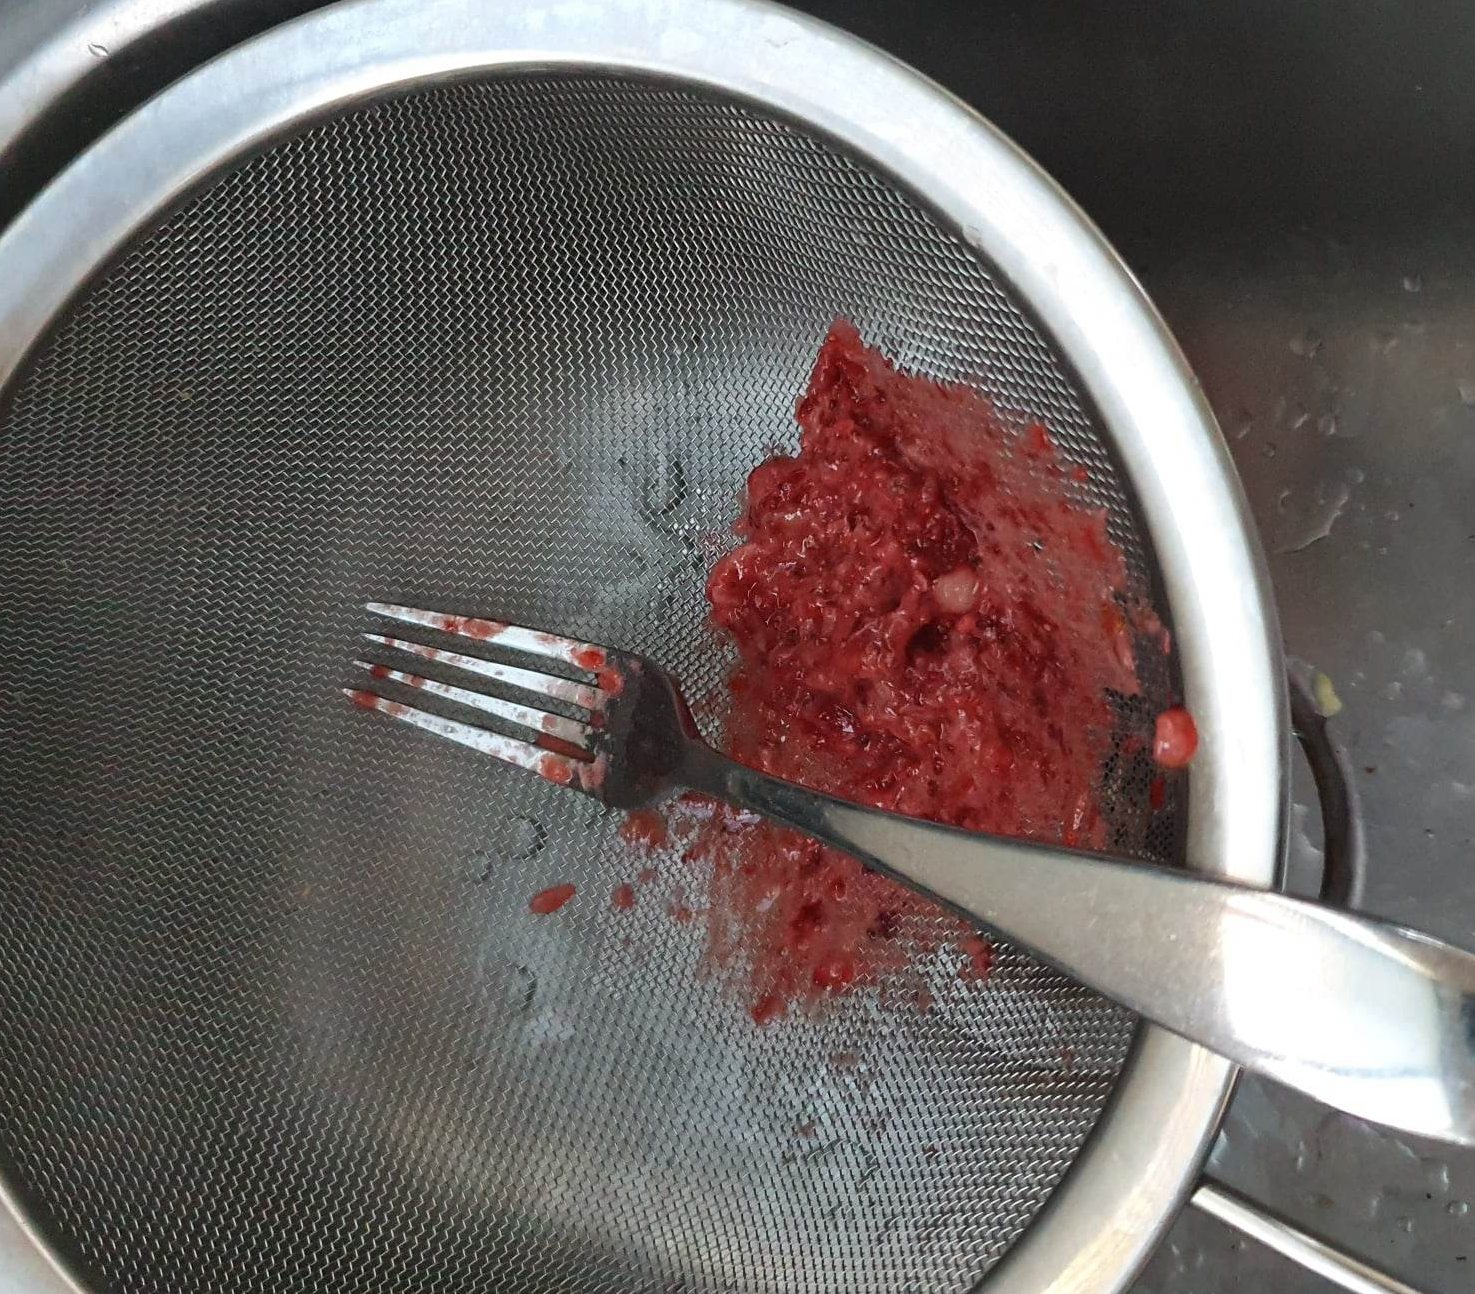
Mash and strain strawberries to remove seeds.
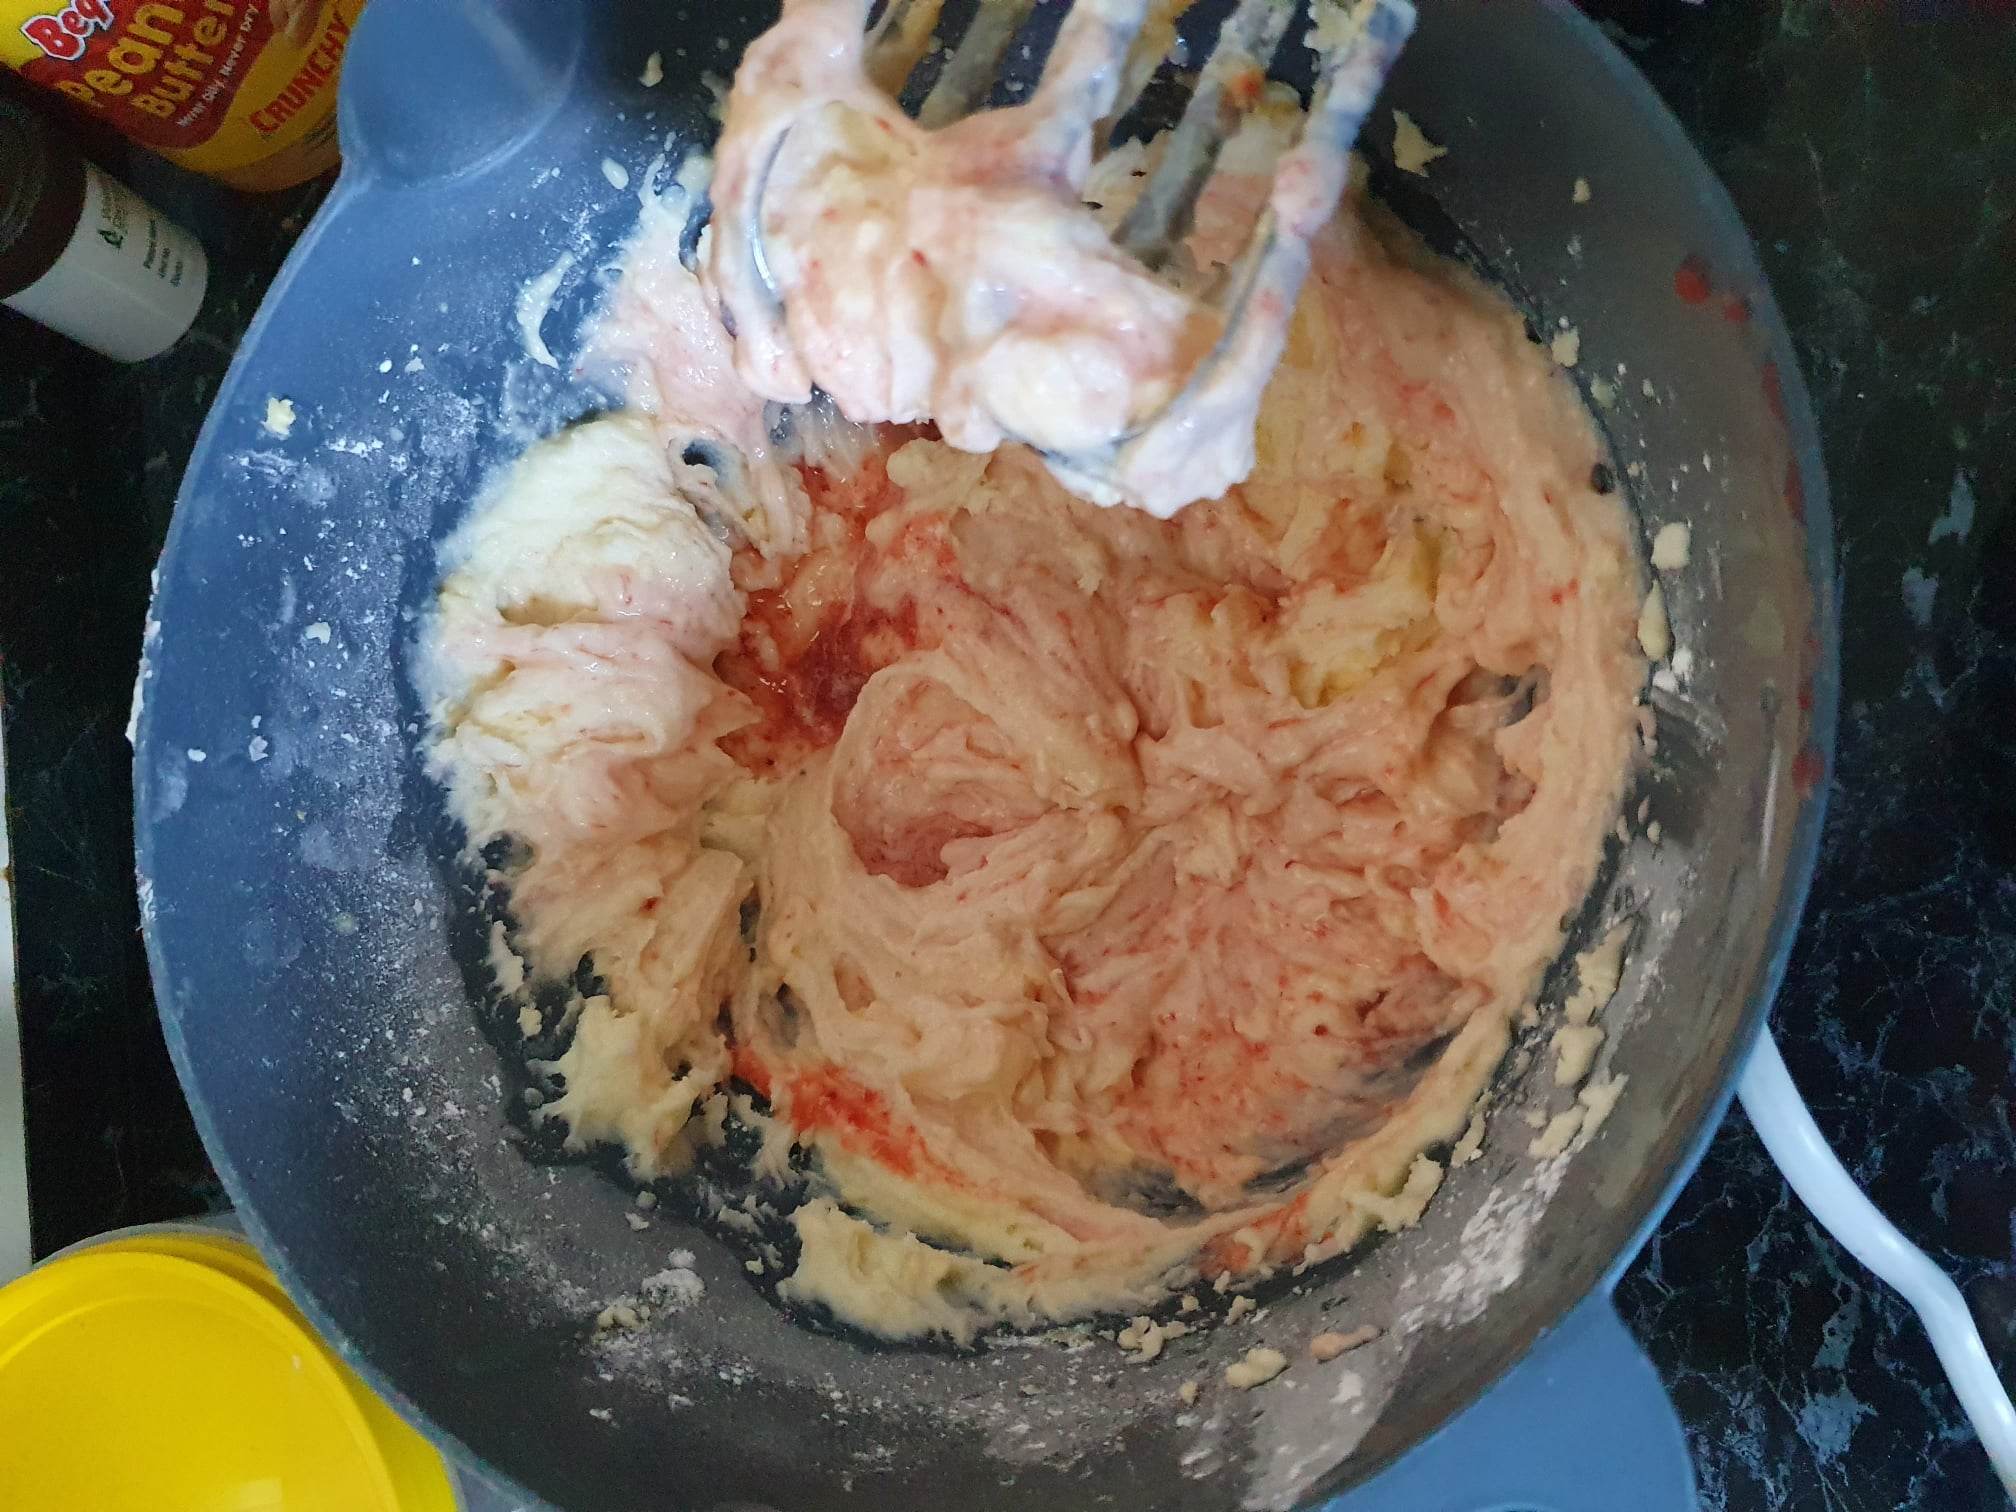
Mix it all together and check consistency. Add a little milk if needed. If you can’t spread it, it’s too thick (add milk), if it runs off your spatula, it is too thin and needs more icing mix.
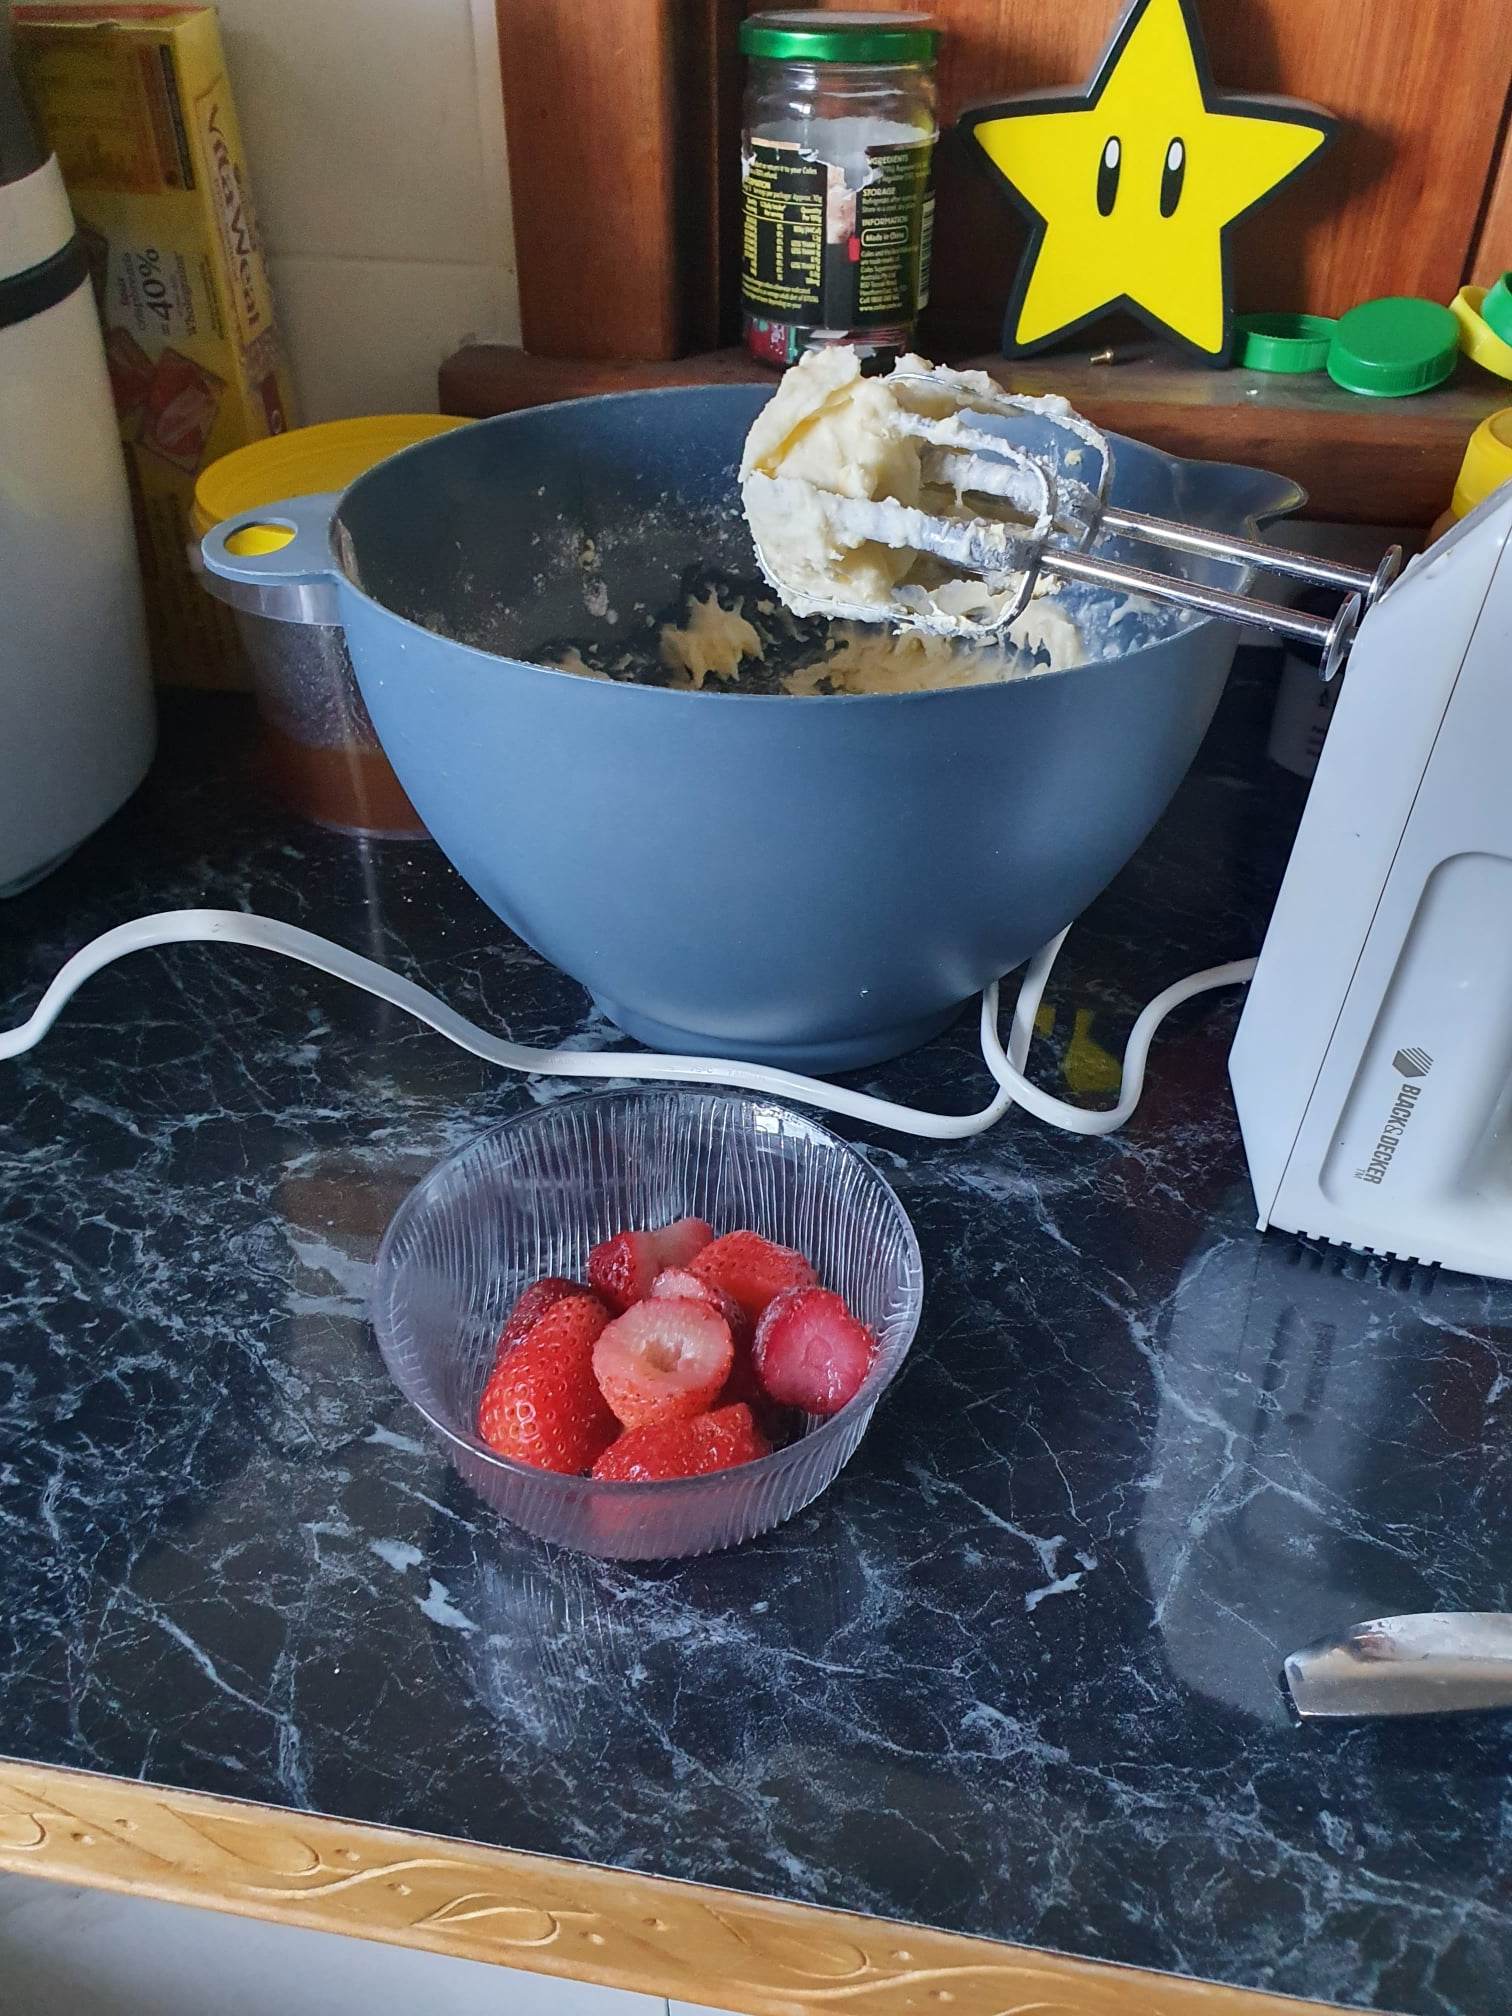
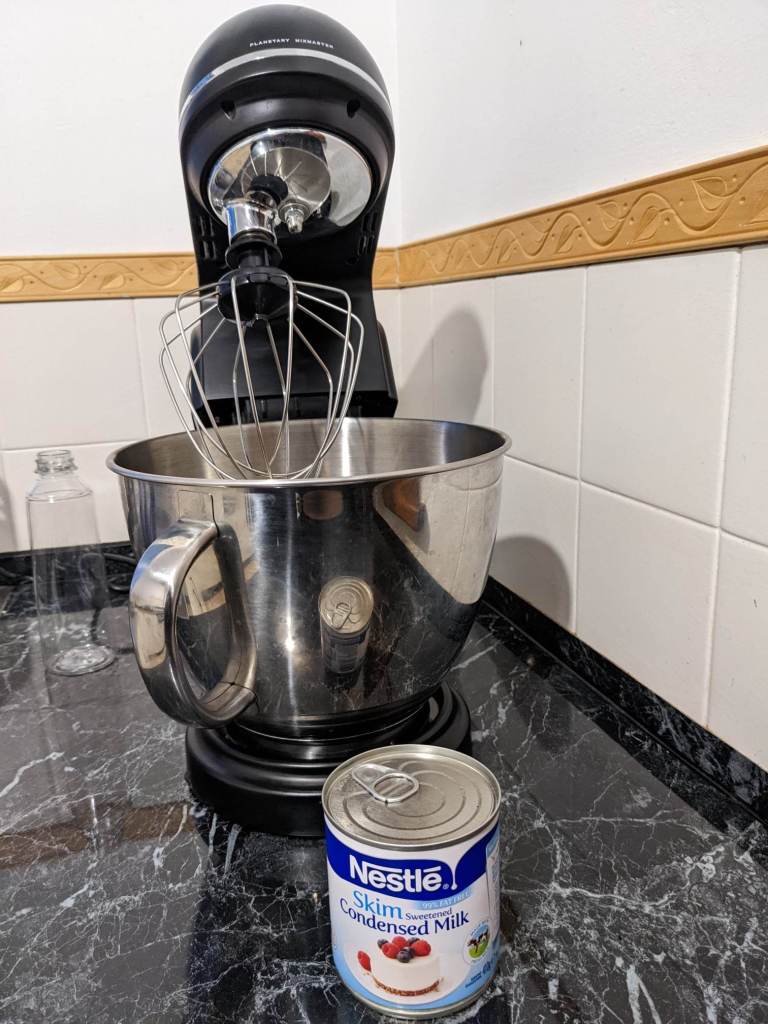
I got a stand mixer babyyyy!!! I was so excited. I did research, borrowed my neighbour’s KitchenAid and spoke with my Mum about hers. This is a decision that has been years in the making, and I finally did it! I ended up with a Sunbeam Master One and I am so happy! Yes it can be loud on the highest setting, but oh well. I don’t use that setting too often.
Anyway, this post is about icecream (here is the recipe). I wanted to use condensed milk to create a 2 ingredient icecream where I would whip the condensed milk and then add chopped frozen strawberries. So I got all excited and looked into it and found noone had seemed to try it before and document it! Bingo! My market. The only advice I could really find was to refrigerate the condensed milk first, so I did that. Got out my stand mixer, put on the whisk attachment and pressed go.
One shiny new stand mixer!
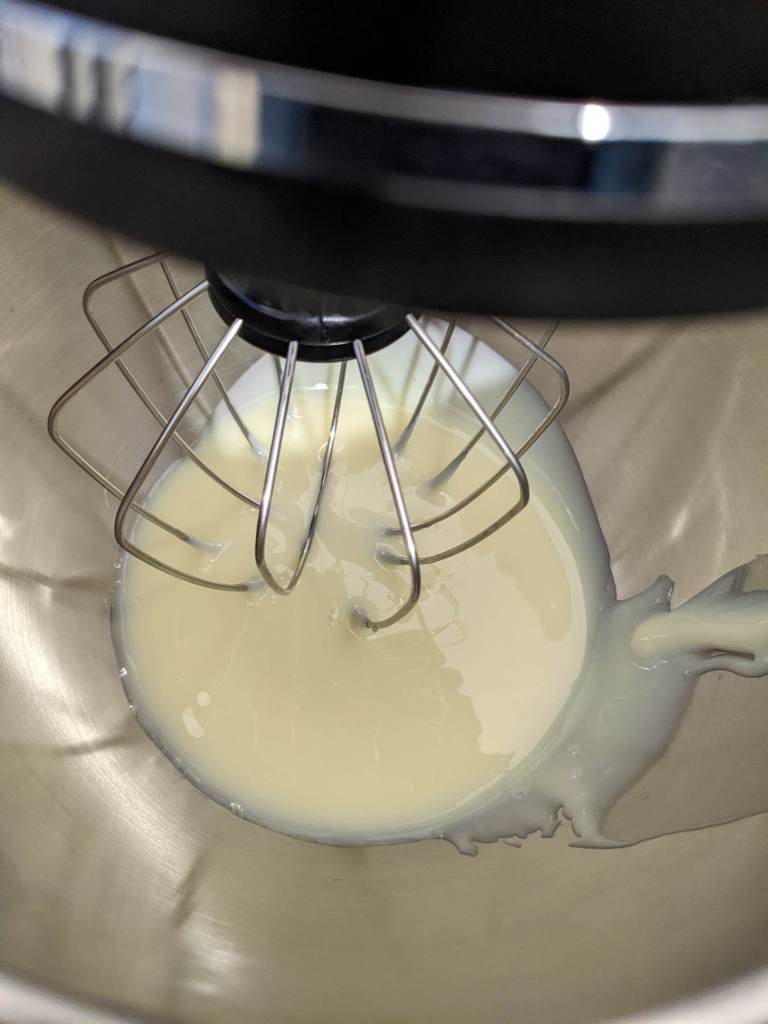
I watched as it spun and spun and…nothing really happened.
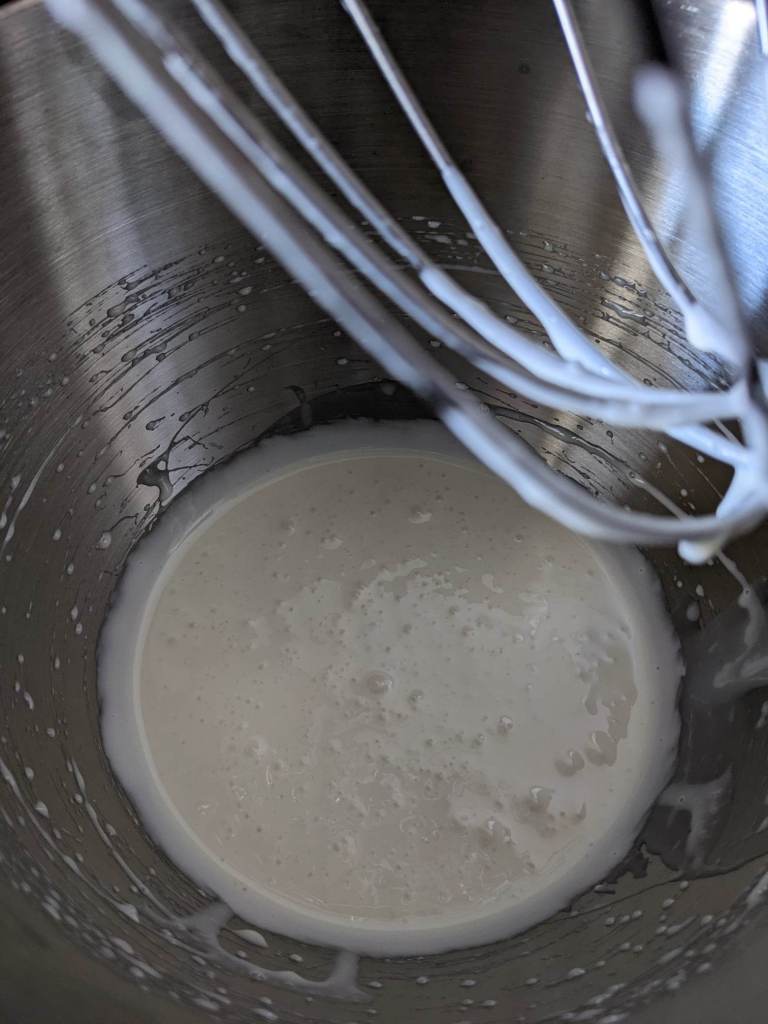
Before whiskingAfter whisking for… a long time
These are my before/after images. Appologies for the strange lighting, but you can still tell that the milk has lightened slightly and has bubbles in it. I think it looks like pancake mix!
What I was hoping for was a light fluffy texture, and what I got was, well, condensed milk.
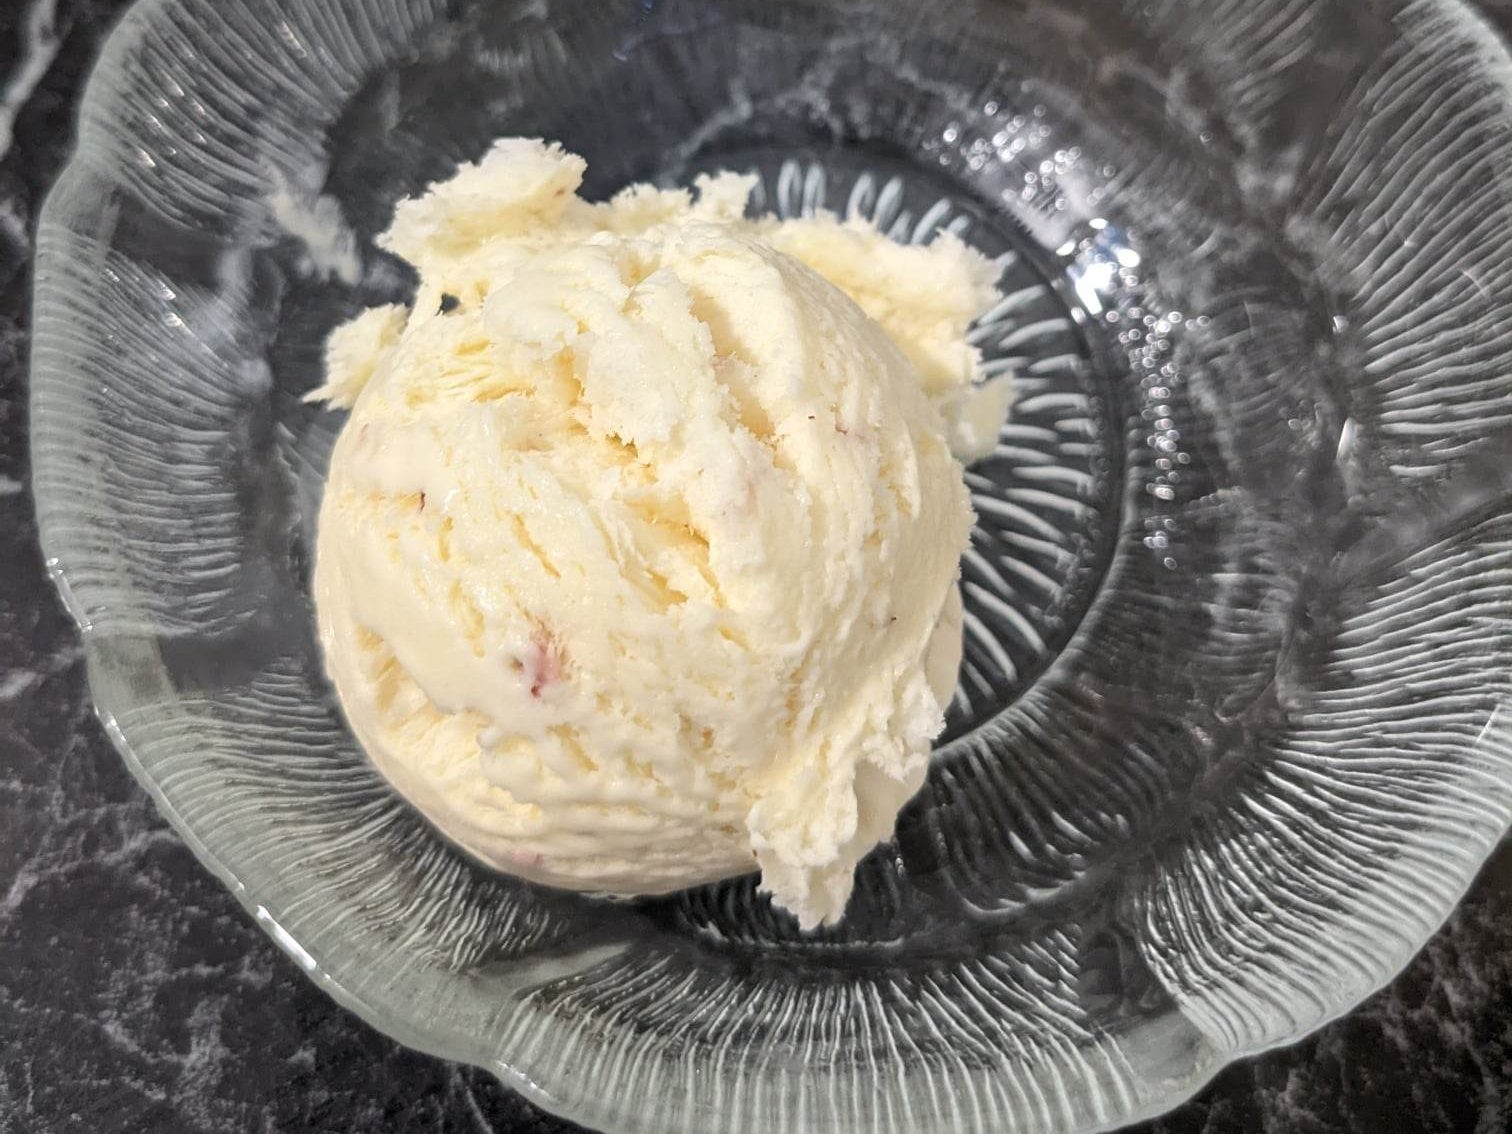
Not to waste good igredients (I also just wanted icecream!), I went to the shops and grabbed some whipping cream. Whipped it up real good and folded the condensed milk into the cream. Just add the thawed strawberries and viola! It was ready to set (stuff churning it, I just threw it in the freezer).
After a couple of hours I had to try it. This is the first scoop.
How good does that look! It came out super rich thanks to the condensed milk, but still creamy and yum.
Next time, I think I’ll stick to cream and sugar 🙂
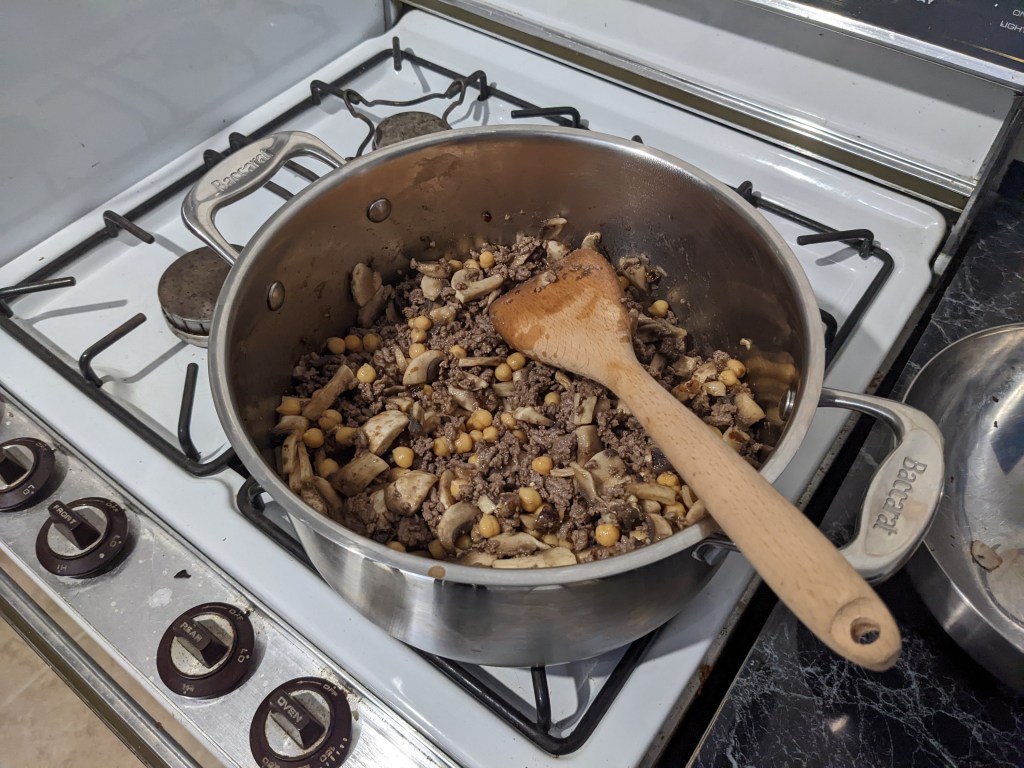
Dice mushrooms, dates and onion (set aside separately)
Soak dates in enough boiling water to cover them, in order to soften them
Drain and rinse chickpeas.
Brown meat and onions then add in mushrooms and dates (include soaking water).
Boil off the liquids
Add all other mince ingredients (tomatoes, chickpeas and spices)
Reduce until slightly runnier than spaghetti bolognese sauce
Make couscous by combining ingredients, stirring and letting sit for 6 minutes. Fluff with a fork and serve
Notes:
Maybe use 1 cup dates, 1 TSP corriander and add in the onion and paprika… Also may need an extra can of tomatoes (800g). Trying to replicate a friend’s recipe…
Total Time: 50 minutes; 20 mins prep; 30 minutes cooking
Adapted from The CWA Cookery Book and Household Hints 55th edition.
Ingredients
90g olive oil
3/4 cup brown sugar
1 tsp vanilla essence
2 eggs
1/4 cup milk
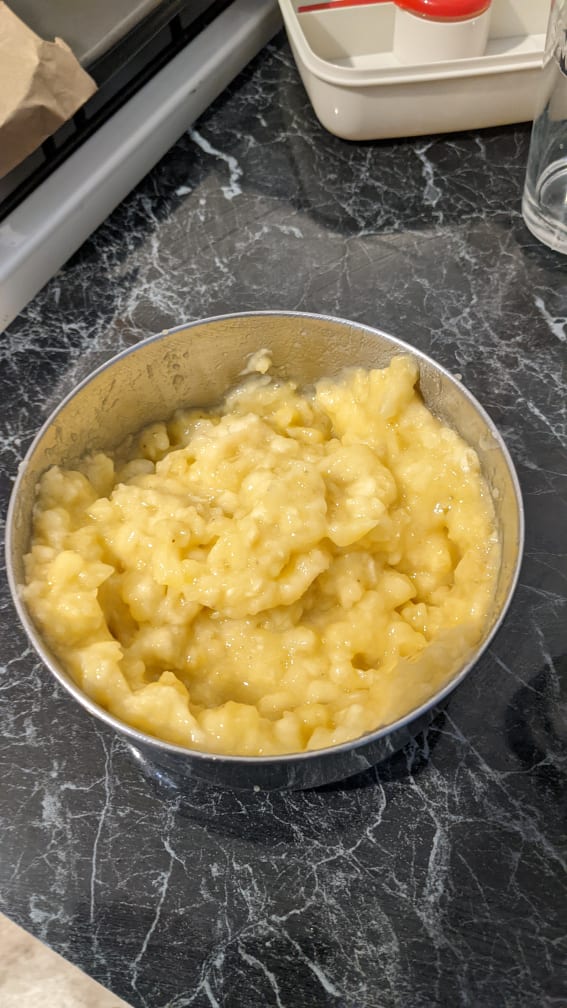
4 ripe bananas (about 2 cups)
1 1/2 cups self raising flour
1/2 tsp bicarb soda
2 tbsp cocoa
Method
Beat oil, sugar and essence together.
Beat in eggs and milk.
Beat in mashed banana.
Fold in flour until just combined.
Separate into 2 bowls and add sifted cocoa to one. Fold in until just combined.
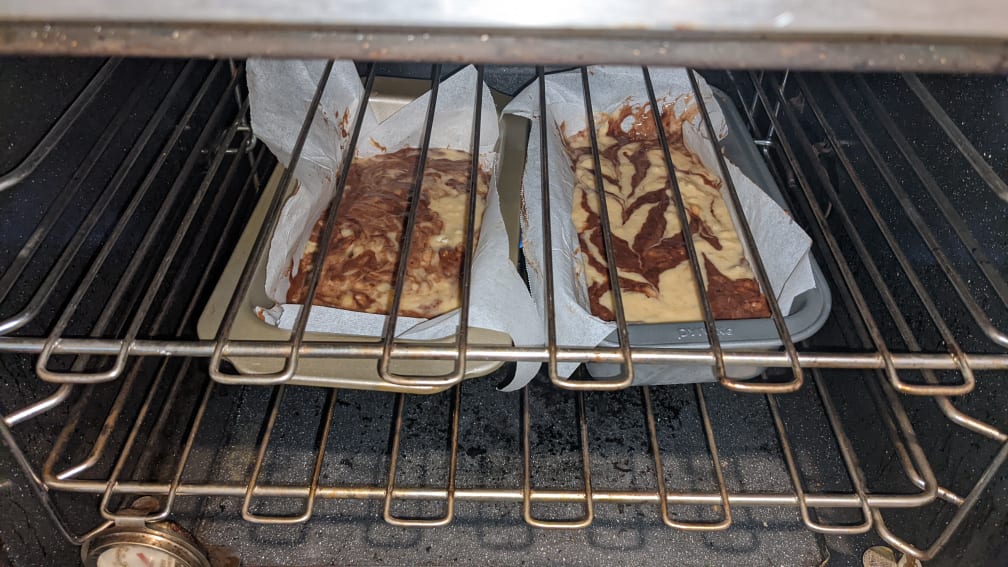
Alternate spoonfuls of the 2 mixtures into 2 lined loaf tins.
Swirl with a skewer to create a marbled effect. Don’t swirl too much or you’re just mixing it.
Bake at 180 degrees C for 30 mins or until a skewer inserted comes out clean.
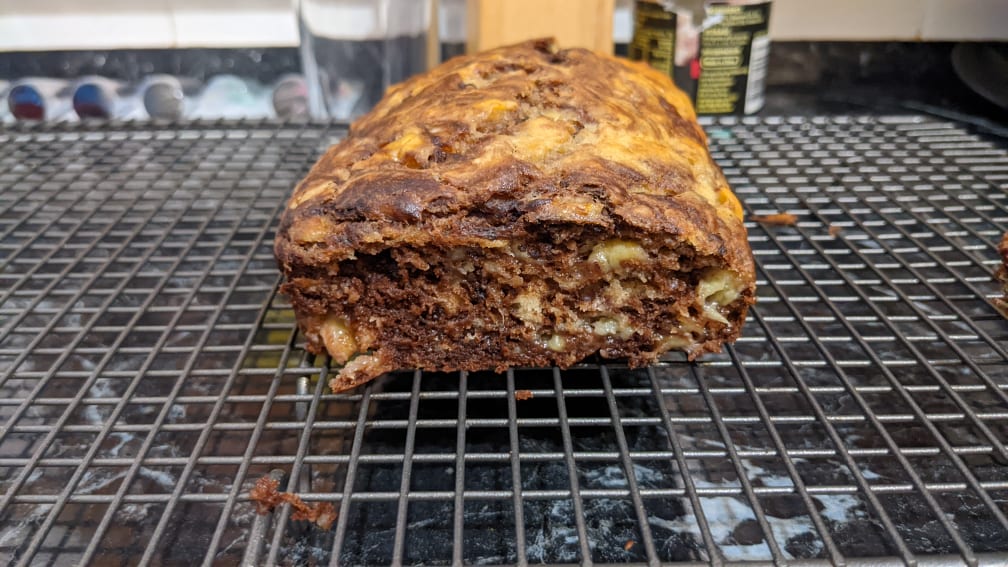
4 mashed bananasMix, mix!Not the prettiest marble, but tastes darned good!When one loaf looks beautiful and marbled while the other looks… partially mixed . I had to remove some of the mix from the marbled one as it was almost overflowing, which made the second loaf super duper marbled.
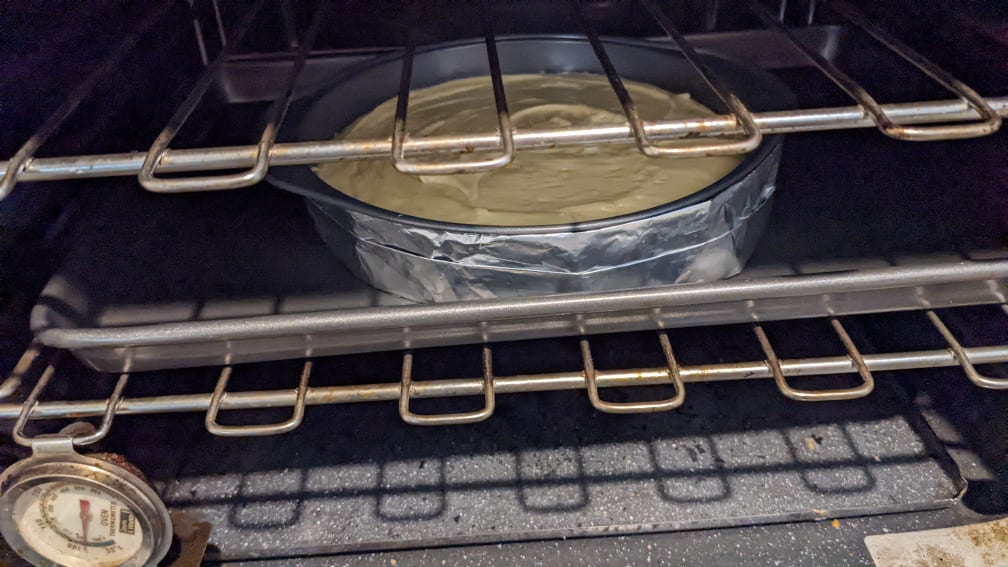
I wanted to make a cake to serve my friends as my party (which ended up getting postponed due to covid testing. Everyone was negative 😀 ). I decided to do a basic butter cake and ice it as a drip cake. I looked at the batter I made and thought “Ahh poop this isn’t going to give enough height for the drip effect!”. I had been scrolling Pinterest for inspiration on decorating and came across a ‘hack’ for making your cakes flat on top and have soft sides. Basically, you put something wet around the outside of the pan to stop the sides from heating up too quickly. I figured this would also help give my cake more height, as it would rise more before becoming too hard and cooked. Unfortunately, I did not have a control cake (having enough batter for a control would have made this particular experiement unnecessary), so I don’t know if it actually gave more height or if this is just how this batter worked out. Not a great scientific method, but what does it matter when I’m not trying to get this peer reviewed anyway? Enough of this though. What did I do, and how did it go?
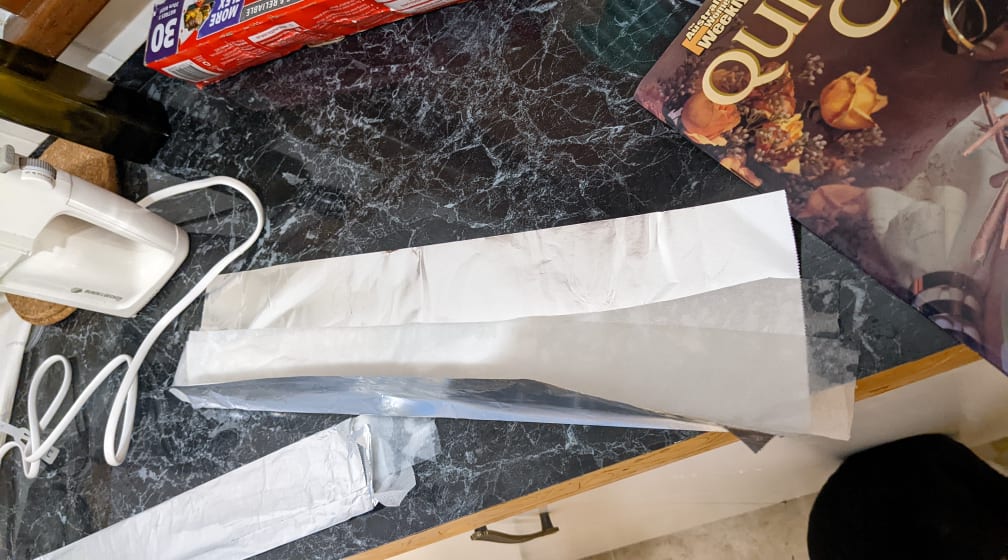
First I got some paper towel and checked whether it ould make it around the tin. It didn’t so I chopped it in half to make 2 lengths. Luckily the width wasn’t and issue as my tin is super shallow, so even a quarter of the width of a paper towel was still too big! To stop the paper towel burning I wrapped it in alfoil, again cut in half to give extra length. Before wrapping it, I wet the paper towelso that it was dripping wet. I laid it in the middle of the foil and folded the foil over it. Then I added an extra fold to make it fit under the lip of my baking tin. I placed the tin and wrapping on a baking tray to stop the wrapping from falling off!
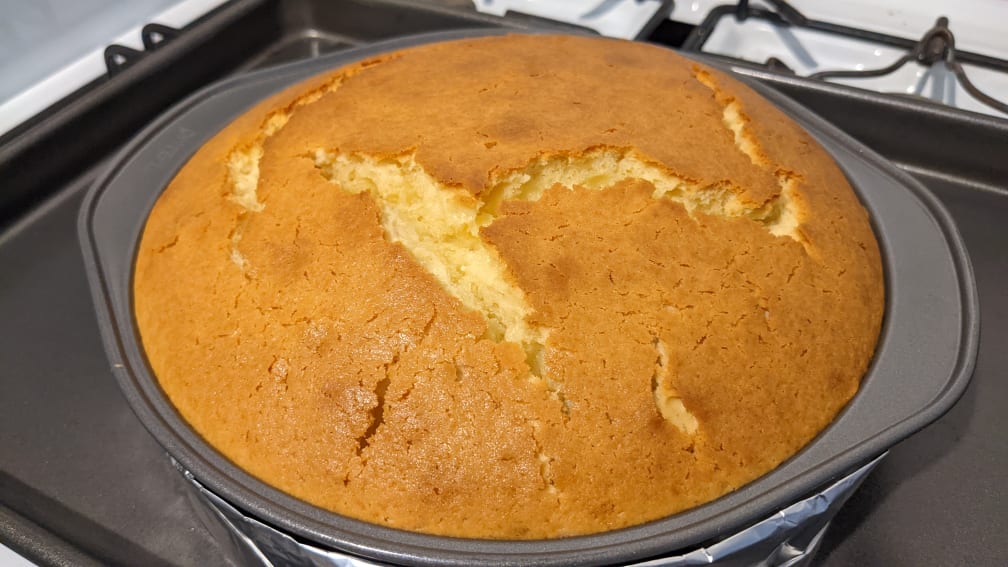
So how did it go? Well, my cake rose to the top of the pan beautifully, however due to the shortness of the pan itself the cake then domed and cracked. The sides of the cake are beautiful and soft and rise the whole depth of the tin. I’m pretty happy with the result! Maybe next time I will use a deeper pan and see whether it stops the doming.
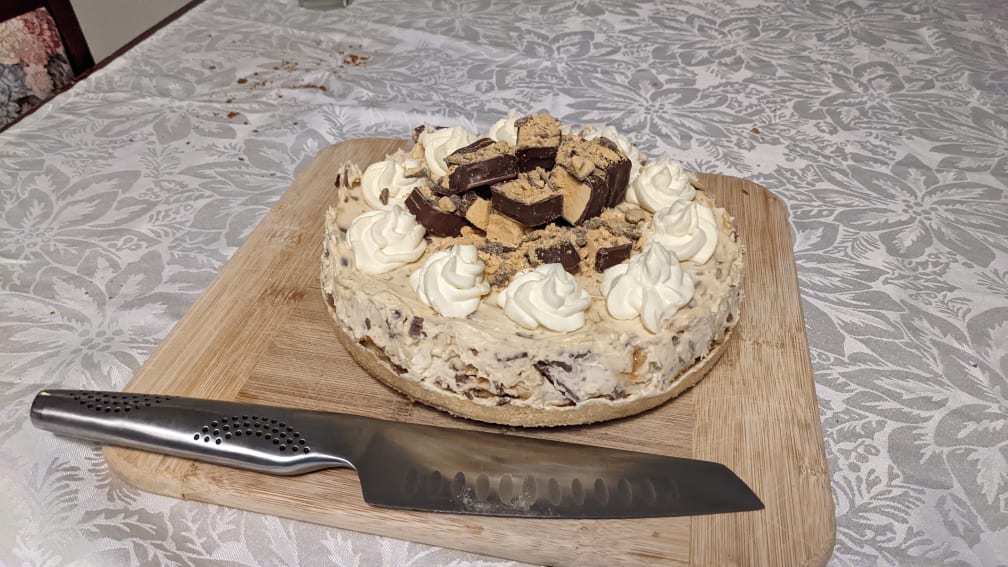
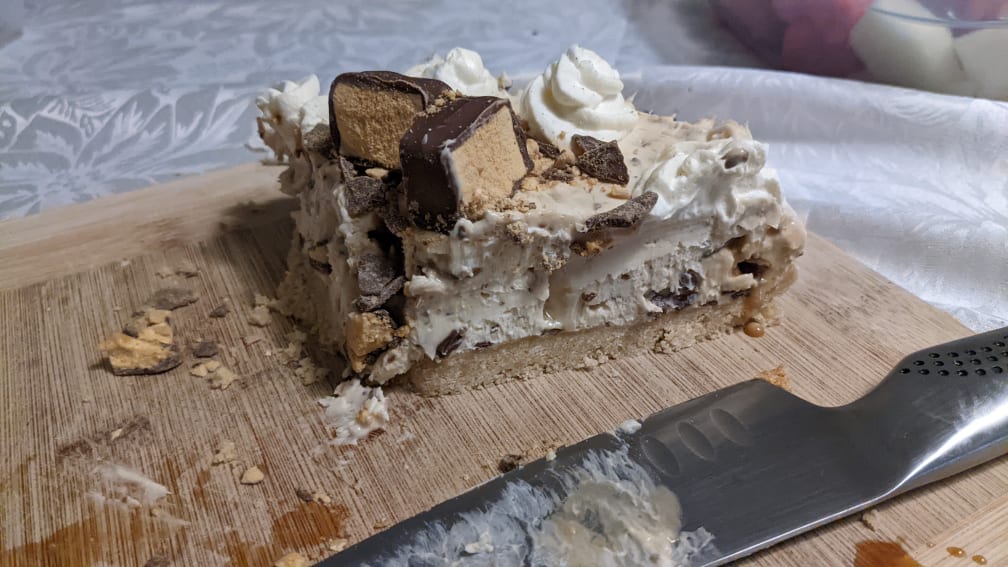
It’s that time of year again where I make way too much cake. This year I decided I didn’t want to bake, so I made a no-bake cheesecake. It’s honeycomb flavour.
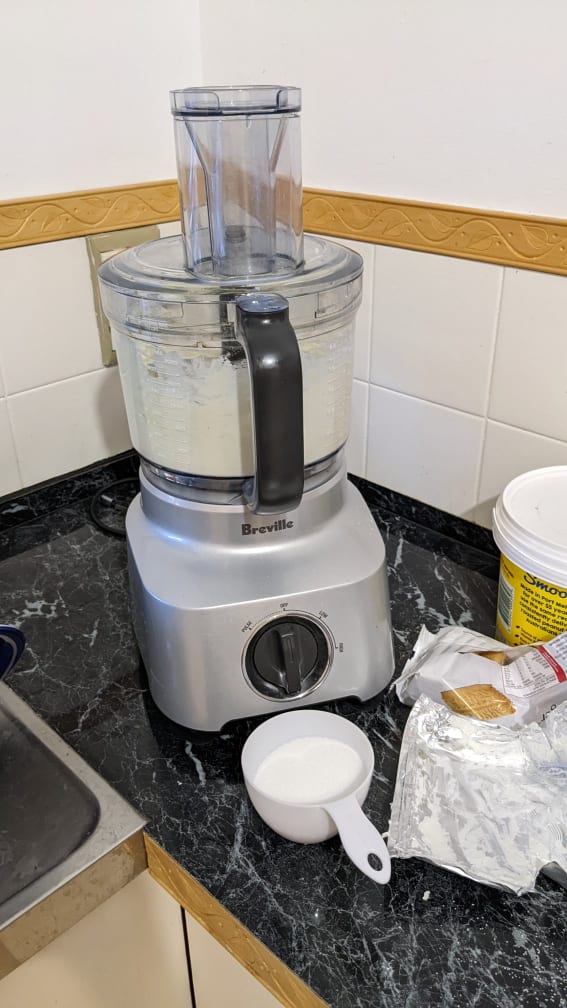
I adapted the recipe from TRTLMT’s recipe for Choc Honeycomb Cheesecake. Here is my recipe. Took me a minute to work out that it was a Thermomix recipe, but I decided to try and adapt it to a blender recipe. This worked quite well for the biscuit base, but not so well for the cream cheese filling. I liked using the blender for the biscuits because it allowed me to use cold butter rather than melted butter. One less step! It didn’t make much difference to pressing it into the base either.
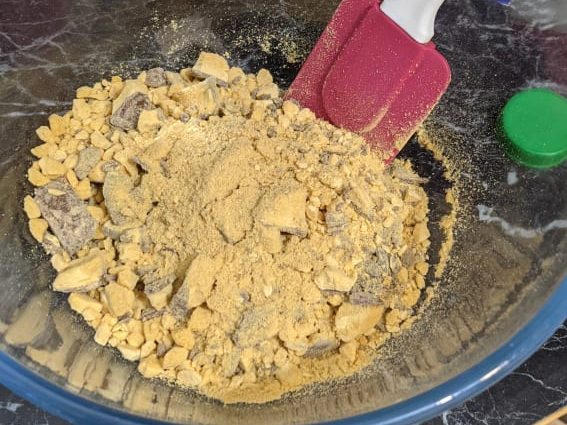
I also wanted to use my blender to crush up the voilet crumble, which is the flavouring for the cake. I was a little worried it would come out too fine, but I this it is perfect. Plently of small bits to make an even flavour but some lovely large chunks for that extra oomph.
The cream cheesefilling definitely works better with a hand mixer, as it doesn’t smoosh all the ingredients up to the edges, but makes sure to incorporate it throughout the mixture. I also didn’t need the high power blender as, for once, I actually had room temperature cream cheese! Normally I’m never organised enough, but I remembered first thing this morning to get it out. I feel like I deserve a pat on the head for being a good little baker.
I know techincally this is a food processor, but that takes soooo long to type out!
I also decided that I would slowly add the sugar to make sure it wasn’t too sweet. I ended up using probably 80-90g out of the 100g in the recipe, but that was with an extra 250g block of cream cheese. I figured thaat the honeycomb will add quite a bit of sweetness, and it’s easier to add more sugar than take it out! Unfortunately this meant I had to taste-test as I went. What a shame! Once the batter was all mixed and decently sweet I mixed in the honeycomb and tested it again. I was pretty happy with it! Not too sweet, but enough to offset the tartness of cream cheese.
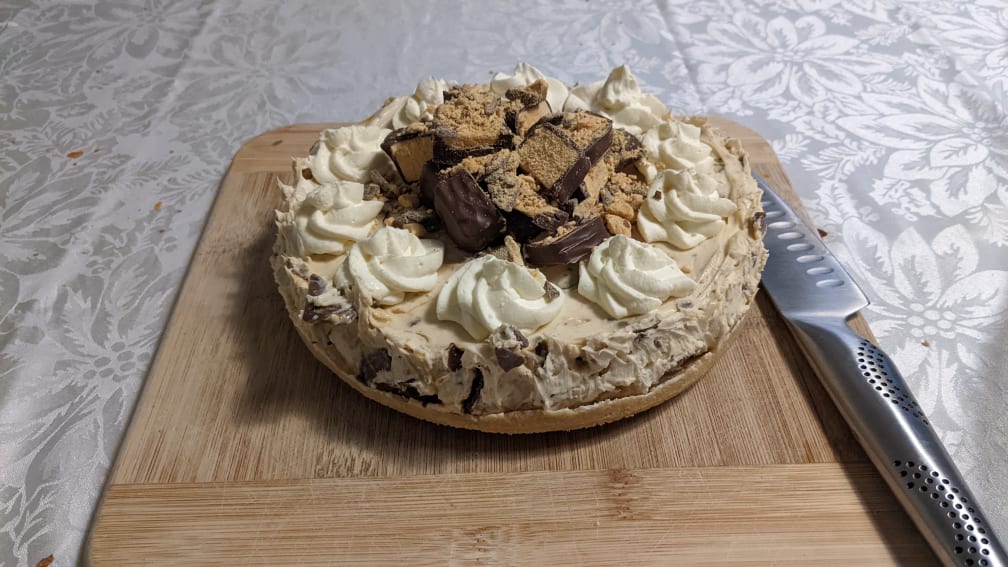
It ended up being a huge hit and both my Aunts even had seconds :O I also have the leftovers for my birthday breakfast…
Blitz biscuits in food processor until crumbed. Cube butter, add to the crumb and blitz till mixed.
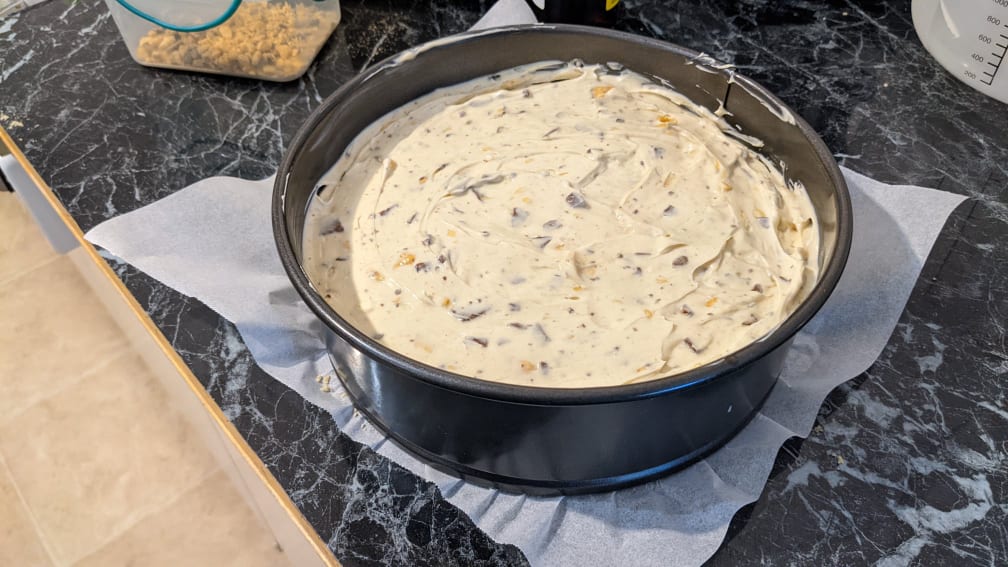
Press into desired tin. I used a springform tin with baking paper on the base.
Crush violet crumbles in the food processor. Try and leave some larger chunks for that extra oomph of taste. Set aside.
Mix cream cheese using a hand mixer (not the food processor) until creamy and smooth.
Add in the sugar and vanilla essence, mix till smooth. You may want more or less usgar depending on your taste and how much violet crumble you use.
Add the cream and mix till smooth. Honestly, not sure why 4-6 are separate steps, it’s just how I was told to do it. Might try doing it all together next time.
Mix the violet crumble into the cream cheese mixture.
Pour onto biscuit base and smooth out (or don’t, that’s just for aesthetics and ease of serving). Set for a long time (mine set for almost 36 hours, although apparently 6 would be long enough)
Decorate just before serving, to avoid melting violet crumble (due to moisture from the cake and fridge). I used whipped cream for the swirls and just piled chopped violet crumble on the top.
Melt butter, honey and vanilla essence in a saucepan over medium heat. Simmer until mixture thickens and goes a darker honey colour. Remove from heat
Add the rice bubbles and mix to combine.
Line a baking tray with baking paper and spread mixture evenly. I wanted to press it down with my hands, but it seemed too hot, so I chickened out and used the spoon.
Refrigerate until set. Mine only took an hour, but was quite thinly spread.
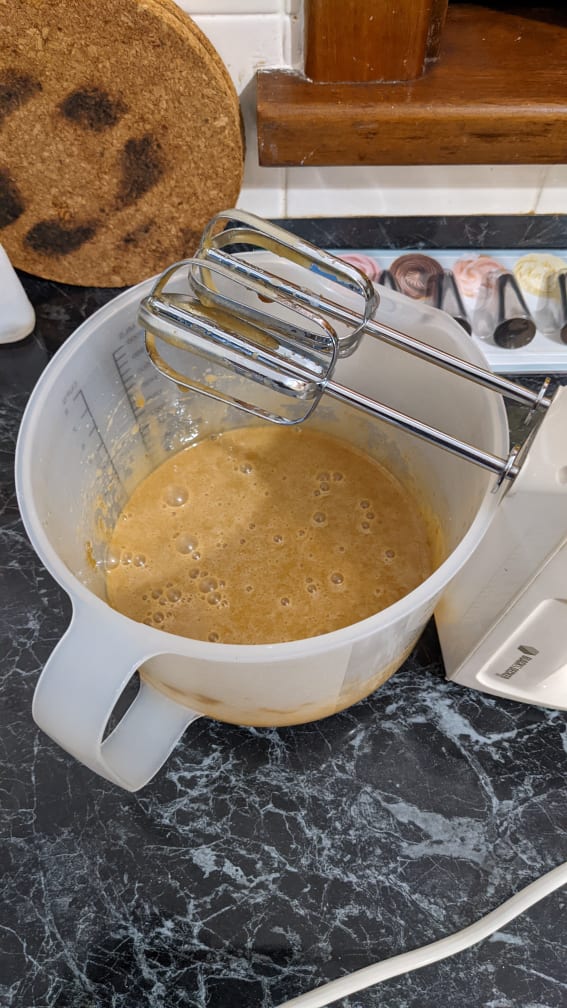
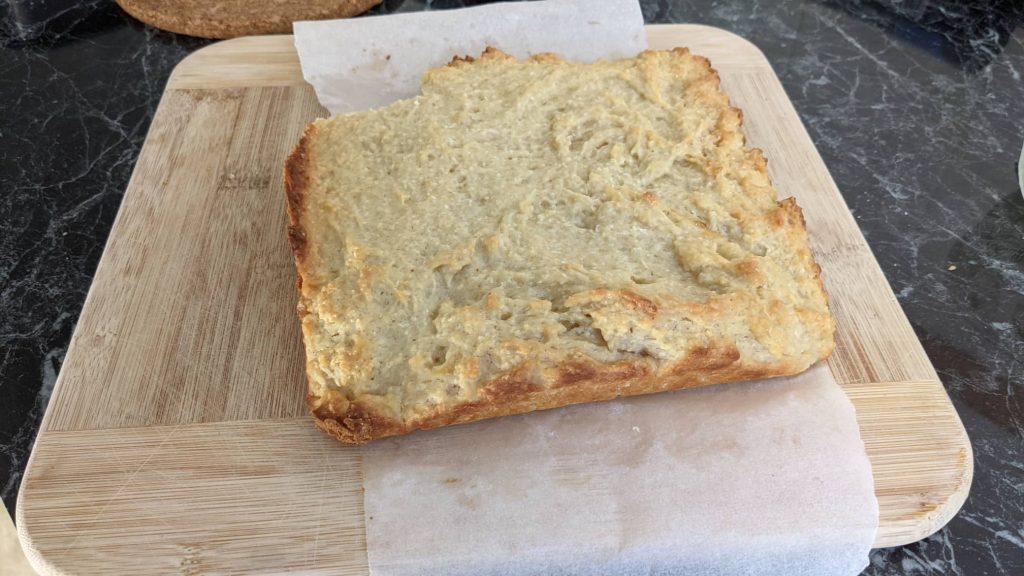
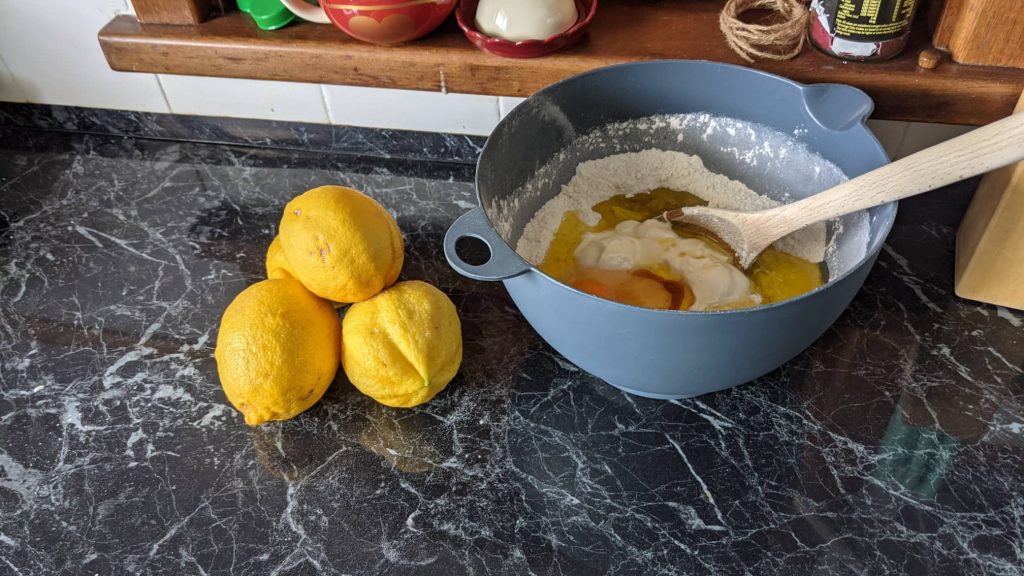
My partner and I have recently bought our very first home. We love it, especially the giant backyard! Our lemon tree is prolific, but I generally don’t like lemon flavour. It makes avoiding waste somewhat tricky! I happened to also have some frozen strawberries in my freezer from last season which needed to get used. I came across this recipe for Strawberry Lemon Bread by TastyOven, which was a huge hit at a family gathering. I like it because it has less sugar than many other recipes AND it uses olive oil instead of butter (one less thing for me to change!). I have made it a few times since then with varying results. This is today’s rendition (the recipe is here):
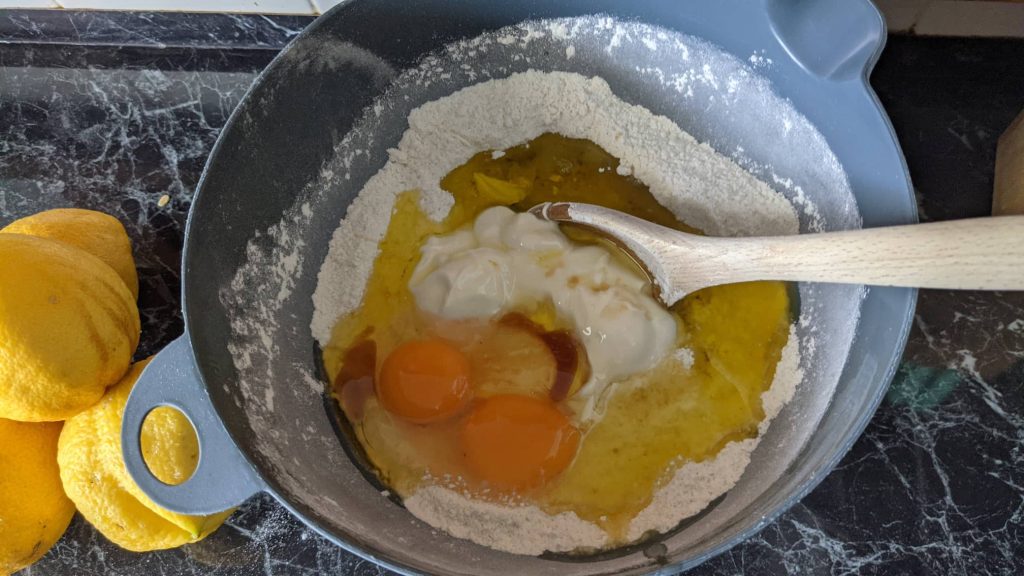
I didn’t have strawberries, so this is just Lemon Bread. It’s such a simple recipe: combine dry ingredients, add wet ingredients, stir and bake. I still managed to muck it up. I forgot to add baking powder and turn my plain flour into self-raising flour. Doh! That is why the finished product is so flat. I also had to substitute the milk for yoghurt, as my milk had turned sour yesterday. I decided to add a half cup of dessicated coconut too, just for fun 😉
The batter is happy to see me!Yes I legitimately stacked those lemons there before deciding to write this as a post.
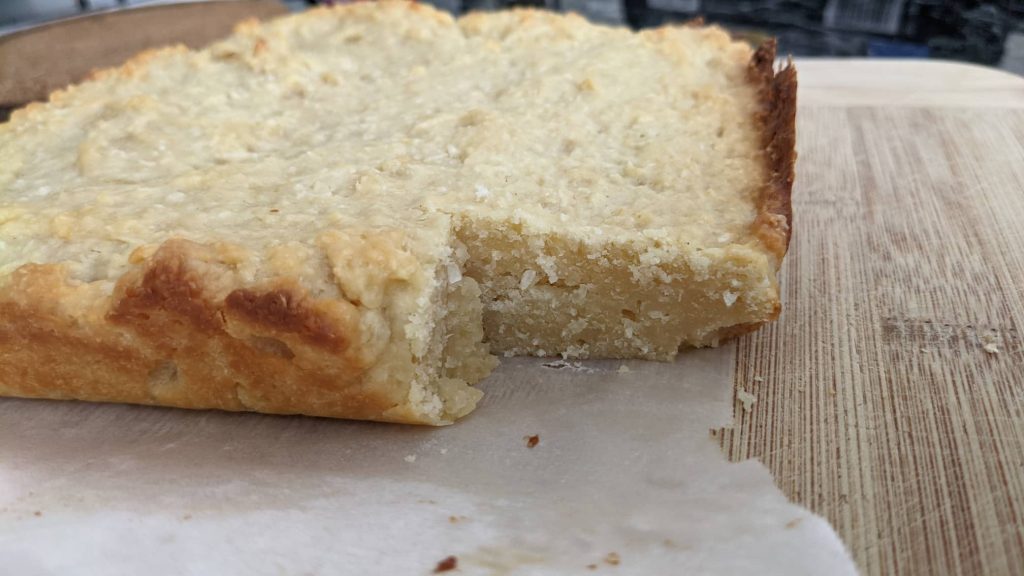
The cake turned out very dense and flat (thanks to the lack of rising agent), but very flavourful. Almost too flavourful for me! For the full recipe click here.