Psych! I’m still here! I’ve been busy moving house and changing jobs, but I’ve still been baking! (Except that month where we bought take out almost every night and ate it in bed because we hadn’t set up the lounge room…)
Recently, I got some old bananas off my Buy Nothing page and I have discovered the joys of non-refined sweetners! At work the cook makes this date loaf that is SO SWEET but has no sugar! Totally blew my mind. So I thought I’d give it a go. I used this recipe from Yummy Addiction as a base, but guess what! I changed it. I’m good at this following the instructions thing. I’ve had prunes in my cupboard for over a year (back when I was gonna try more high fibre foods. Yeah that never happened…), so I substituted the dates for prunes. Waste not, want not!
I can’t comment on the difference because I have never made this recipe before (or cooked with dates/prunes). The loaf definitely had a different taste to ‘normal’ banana bread, less banana, more prune. Still pretty darn yum though, considering there’s no refined sugar 😀
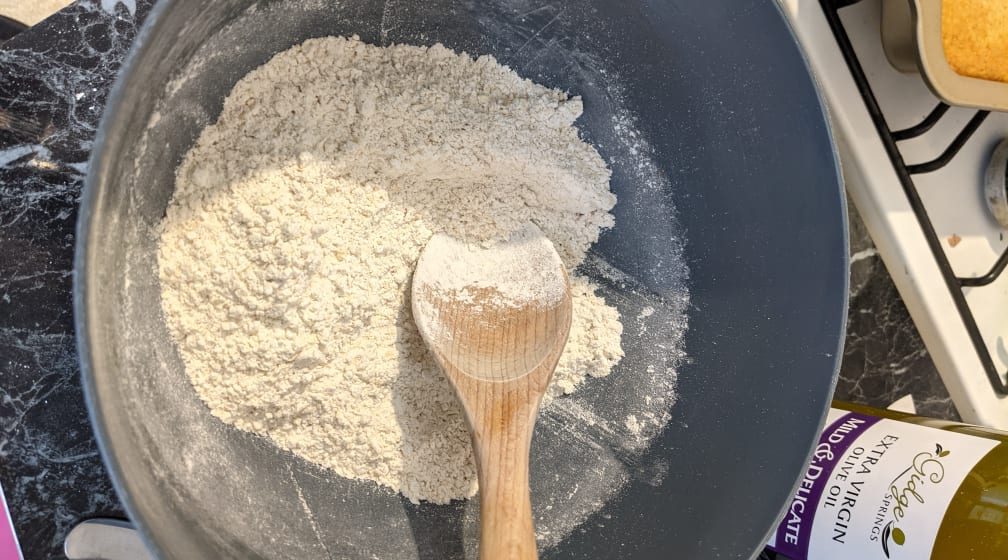
So mix the dry ingredients. Ok flour… uh oh. I used all but a cup of flour for a different recipe not an hour ago. Bahh. Never fear! I always have oats, so I chucked them in my blender to try and make flour (this is how the pros do it right? XD ) It wasn’t terrible, but there were definitely large chunks of oats in the finished product. Ok, salt, powder, oh cinnamon? Easy. Oh I don’t have any, well, I’ll use a little extra nutmeg. Oh look, there’s the cinnamon. time to try and spoon out some nutmeg and replace it with cinnamon. *face palm*.
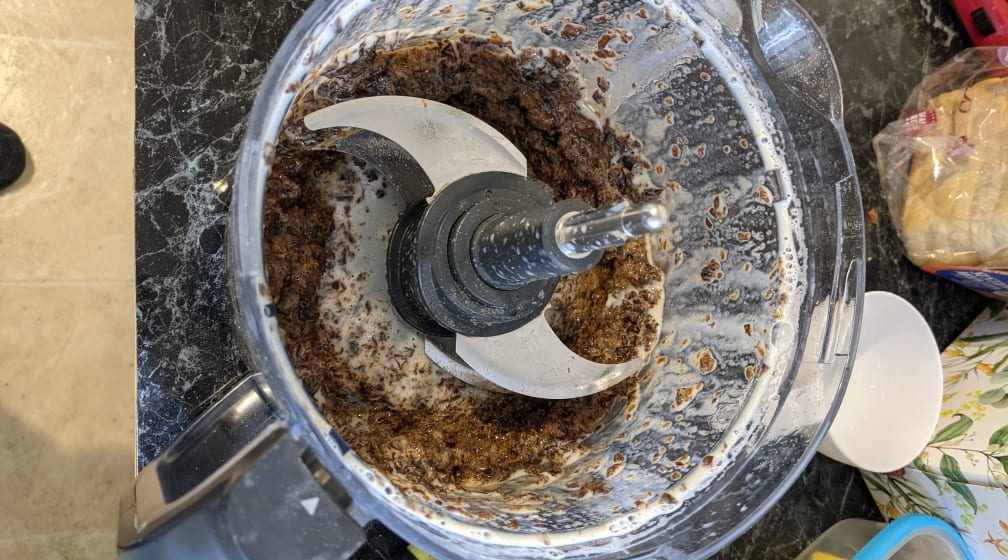
Right, so blend the dates and butter milk (ie. milk with a dash of vinegar, coz I don’t have space for another carton in my fridge!), till smooth… or not crazy chunky. My blender didn’t quick get it to the stage where I would call it ‘smooth’ but it turned out fine.
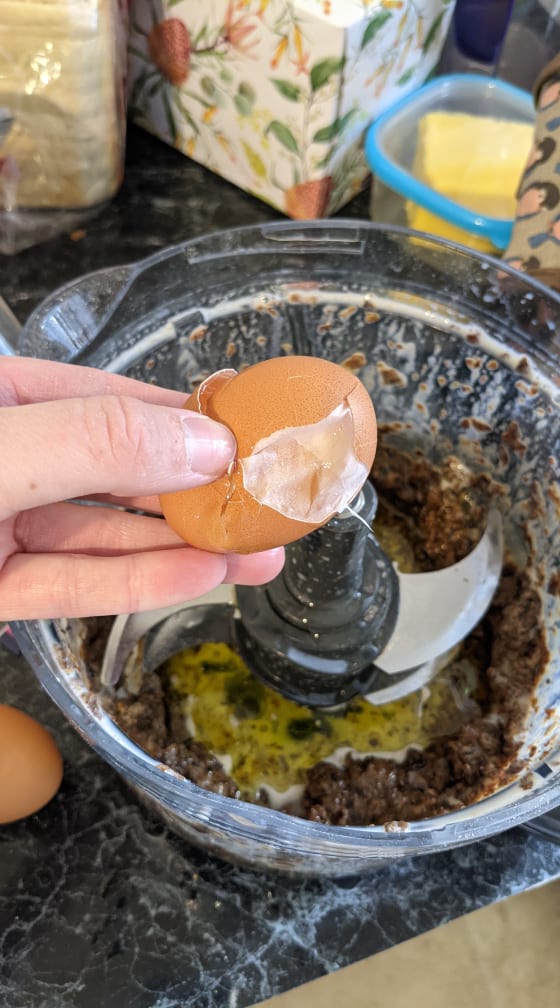
I added the other ‘wet’ ingredients to the blender (probably could’ve done it all at the same time) but replaced the butter with olive oil, fresh from the farm 2 weeks ago. I’ve never had an egg refuse to crack, but this one almost got the better of me.
Add it all together, but don’t overmix! Time to cook! No need to preheat the oven, what with my fancy (and very old, but new to me) gas oven. I’m not scared of it at all, what are you on about?
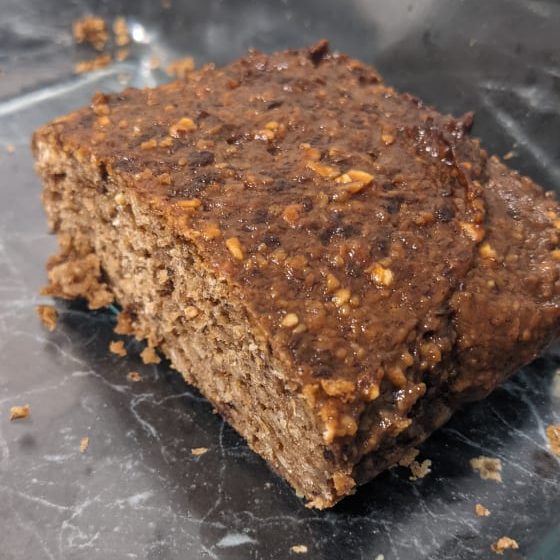
It looked and smelt gross going into the oven and coming out. But it actually tasted quite good. I honestly didn’t expect to enjoy it, but this morning I toasted some and put some butter on it an oh my goodness it was good. It’s stayed out on my bench for the past week and is still ok, still moist and ok to eat fresh.
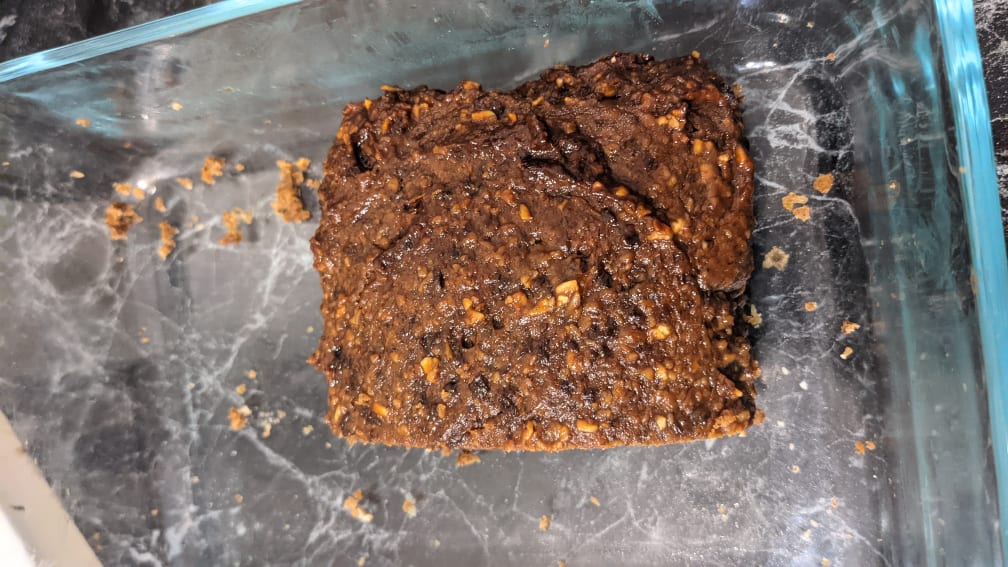
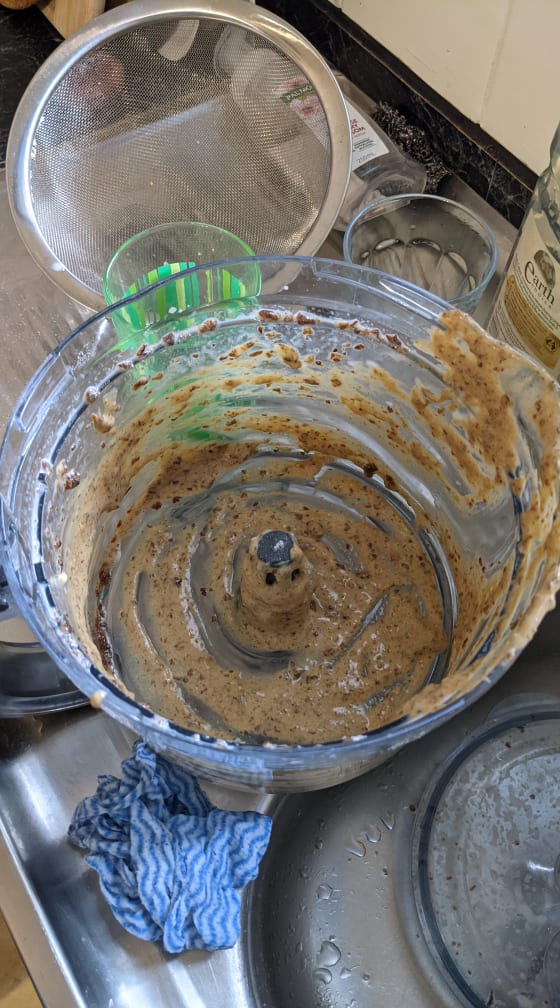
It so strangely shiny… should it be shiny?! 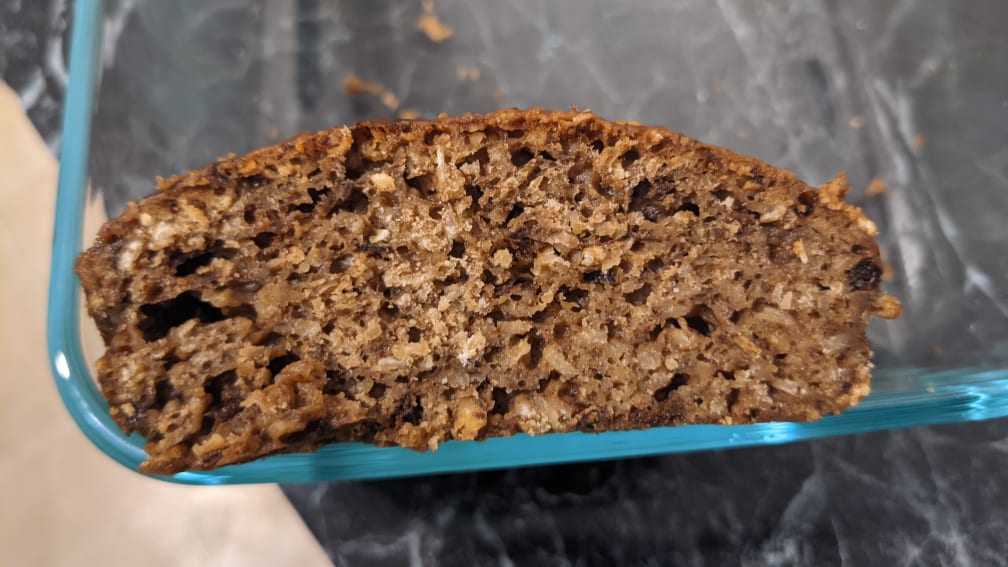
You can definietly see the oats in there!